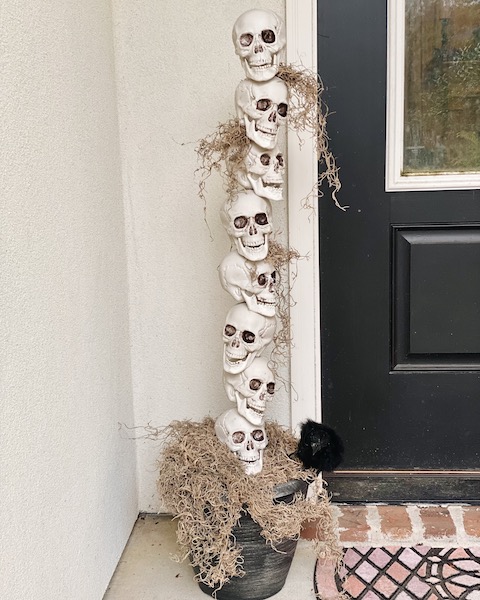
I have been in search of inspiration for Halloween decorations for the front door for weeks now. Finally! I stumbled upon a post on Instagram by @thekeeperofthecheerios of these fantastic DIY skull planters they created. Even better, I had almost all the materials needed to make something similar. Not a fan of DIY? Scroll to the bottom of the post for an easier alternative.
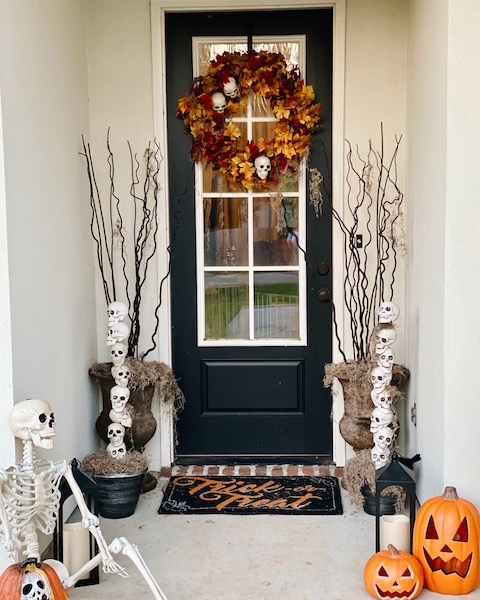
I am in love with how the skull planters pulled everything together.
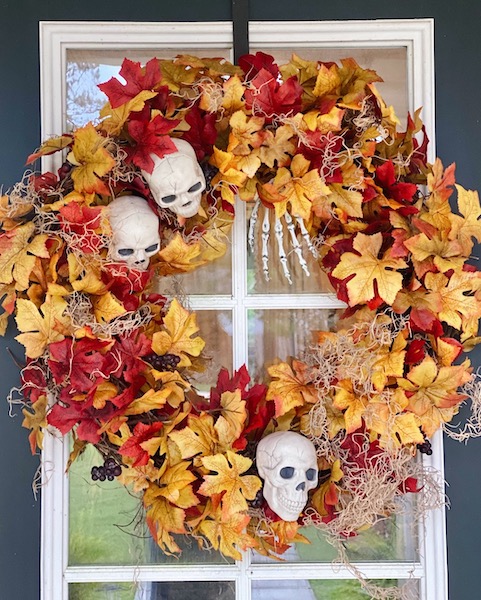
The planters go perfectly with this wreath I made a few years ago, further increasing my excitement for this project.
To make your Halloween planters you will need:
- pots
- spanish moss
- wooden dowels
- florist foam
- skulls
- ravens
- hot glue gun
- hot glue
- drill
Let’s get started!
Preparing the pots
You will want to start by inserting the florist foam into the pots. I used some leftover square foam that I had on hand from a previous project and simply trimmed them to fit my pots.
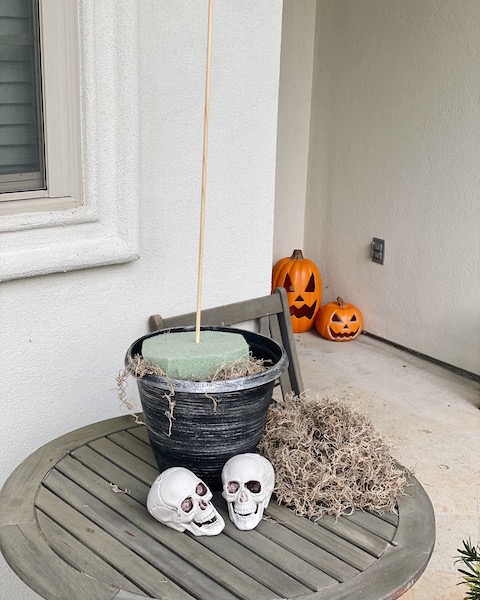
Next, you will want to hot glue the foam inside your planter so it stays in place. Tuck some moss around the sides of the foam for extra security.
Creating the Stack
Now, grab your wooden dowels and insert them into the center of each pot. The dowels that I used were 3 ft long (Note- you will want to use thicker dowels if you want a taller display to prevent it from leaning). Be sure that the dowels are straight, otherwise, your skulls will be a bit lopsided.
Grab a drill, or your husband, and drill holes in the top and bottom of all the skulls. Don’t drill a hole on top of the skull that will go on top. Only drill a hole in the bottom of it.
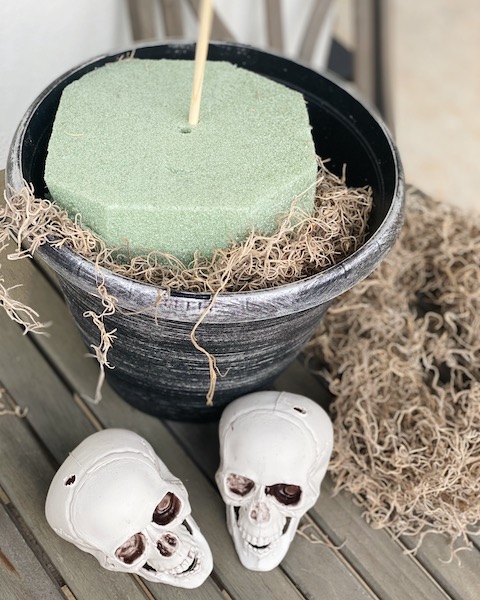
Cover the foam with moss and drape some over the side of the container, as well.
Thread your skulls onto the wooden dowels. Use your hot glue gun to secure them to each other in a pattern you like. Don’t glue the bottom one to the base yet, as we may need to adjust it in the next step. I used 5-inch skulls that I ordered from Oriental Trading. I decided 8 skulls would be perfect for the look that I was trying to achieve. This will vary based on the size of the planters, dowels, and skulls.
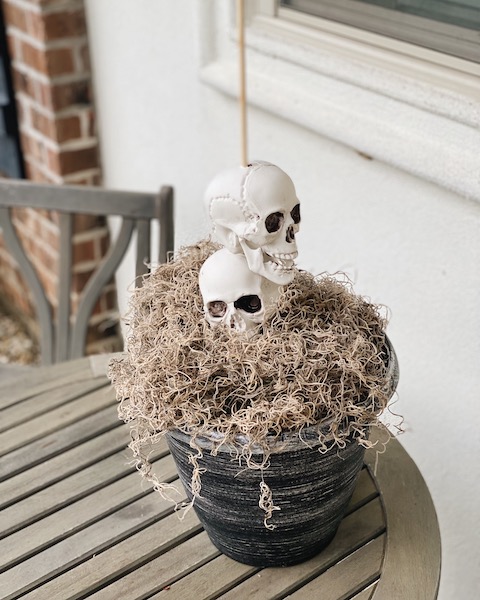
Finishing touches
Is your skull stack looking lopsided? You may be able to simply rotate the bottom skull or try stuffing lots of moss under the side that’s leaning. While you are making a mess over there, shove some more moss in between a few of the skeletons and let it drape down the side of the stack.
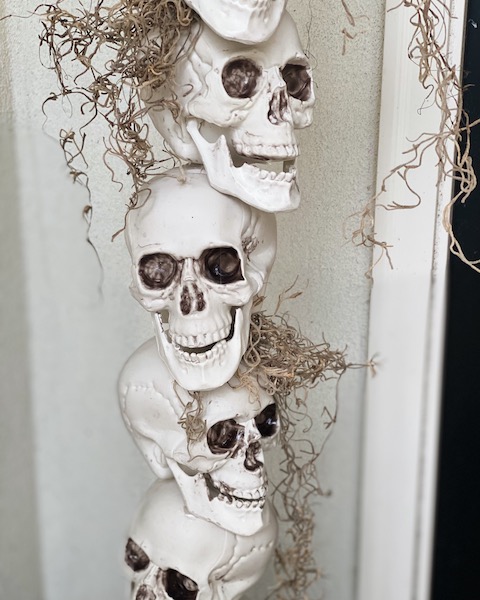
Grab your hot glue gun again and glue the bottom skull and the moss in place.
Last, place your ravens in the planters. You may want to glue them down so that they don’t move.
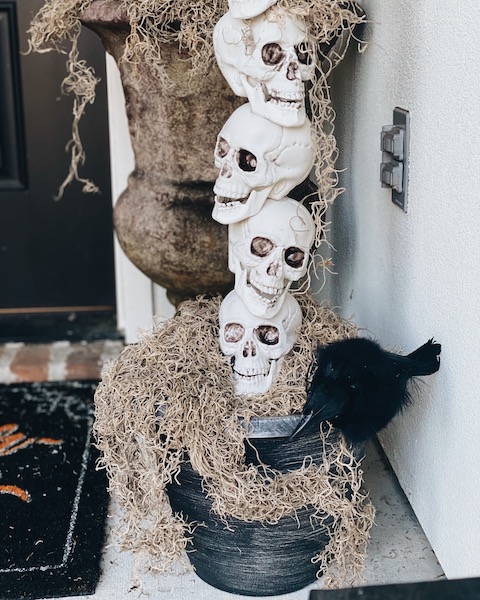
Voila!
Now, you have your very own skull planters!
Not a fan of DIY?
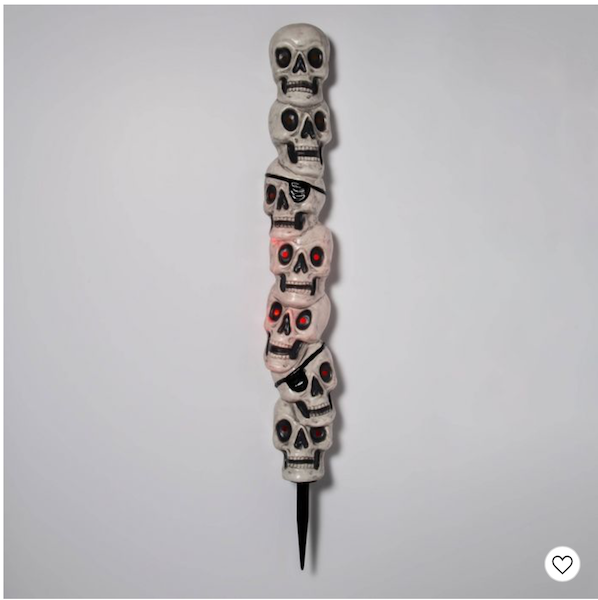
Last night, as I was browsing on Target.com, I discovered a light up stacked skull planter insert that you can just stick into your existing pots. Simply add some moss to achieve a similar look!
I also added a little graveyard on the pathway leading to the front door. Almost all the pieces I used came from the Dollar Tree!
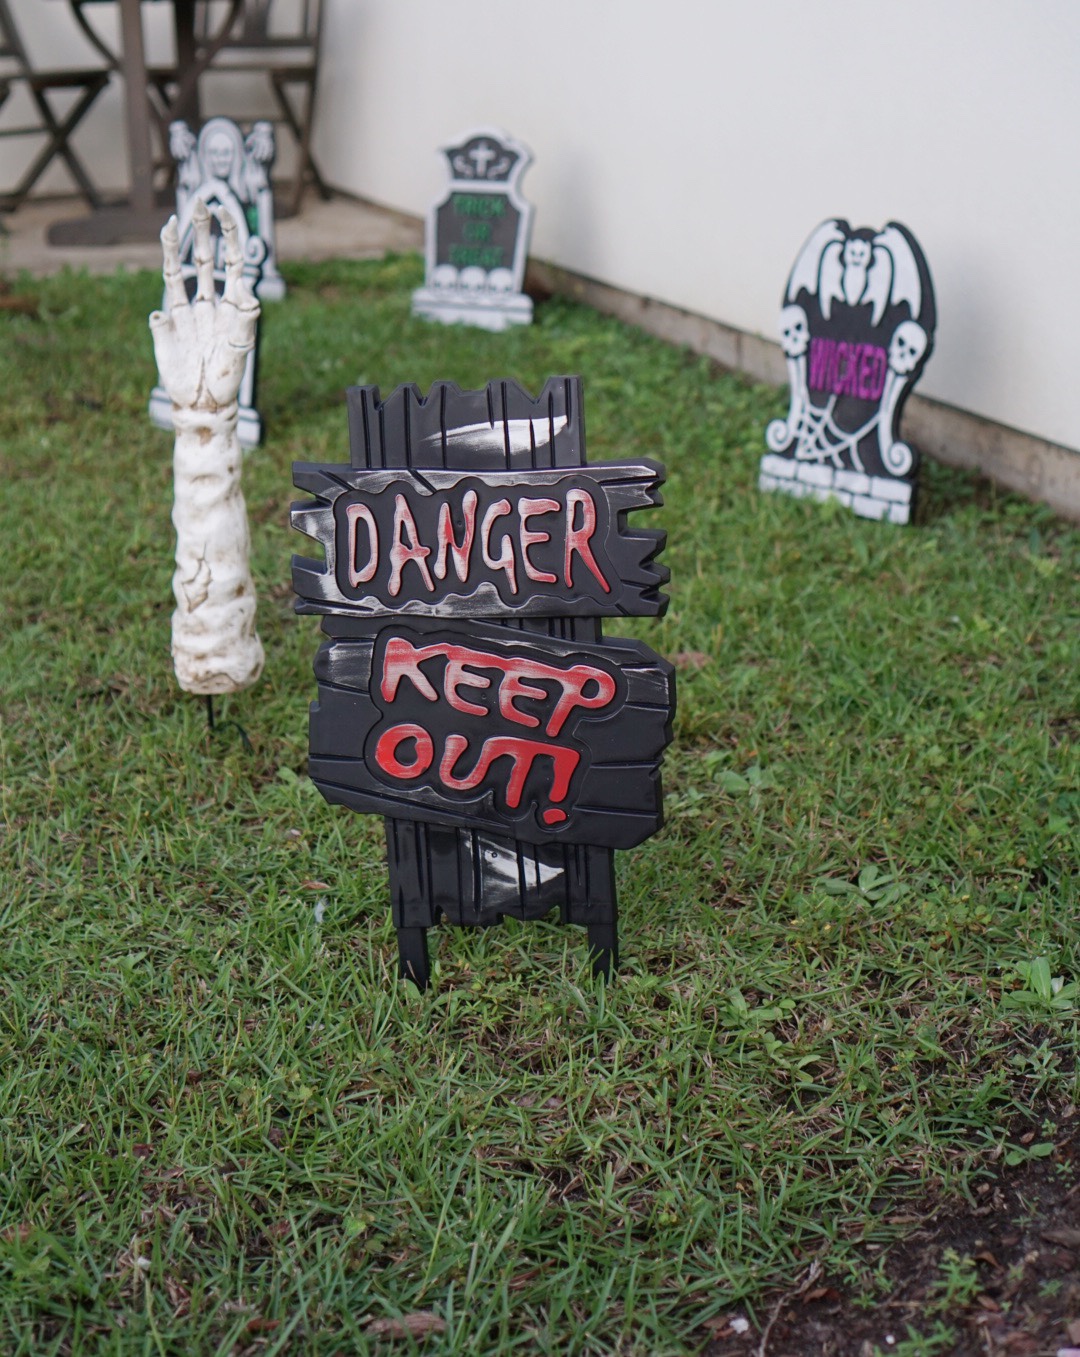
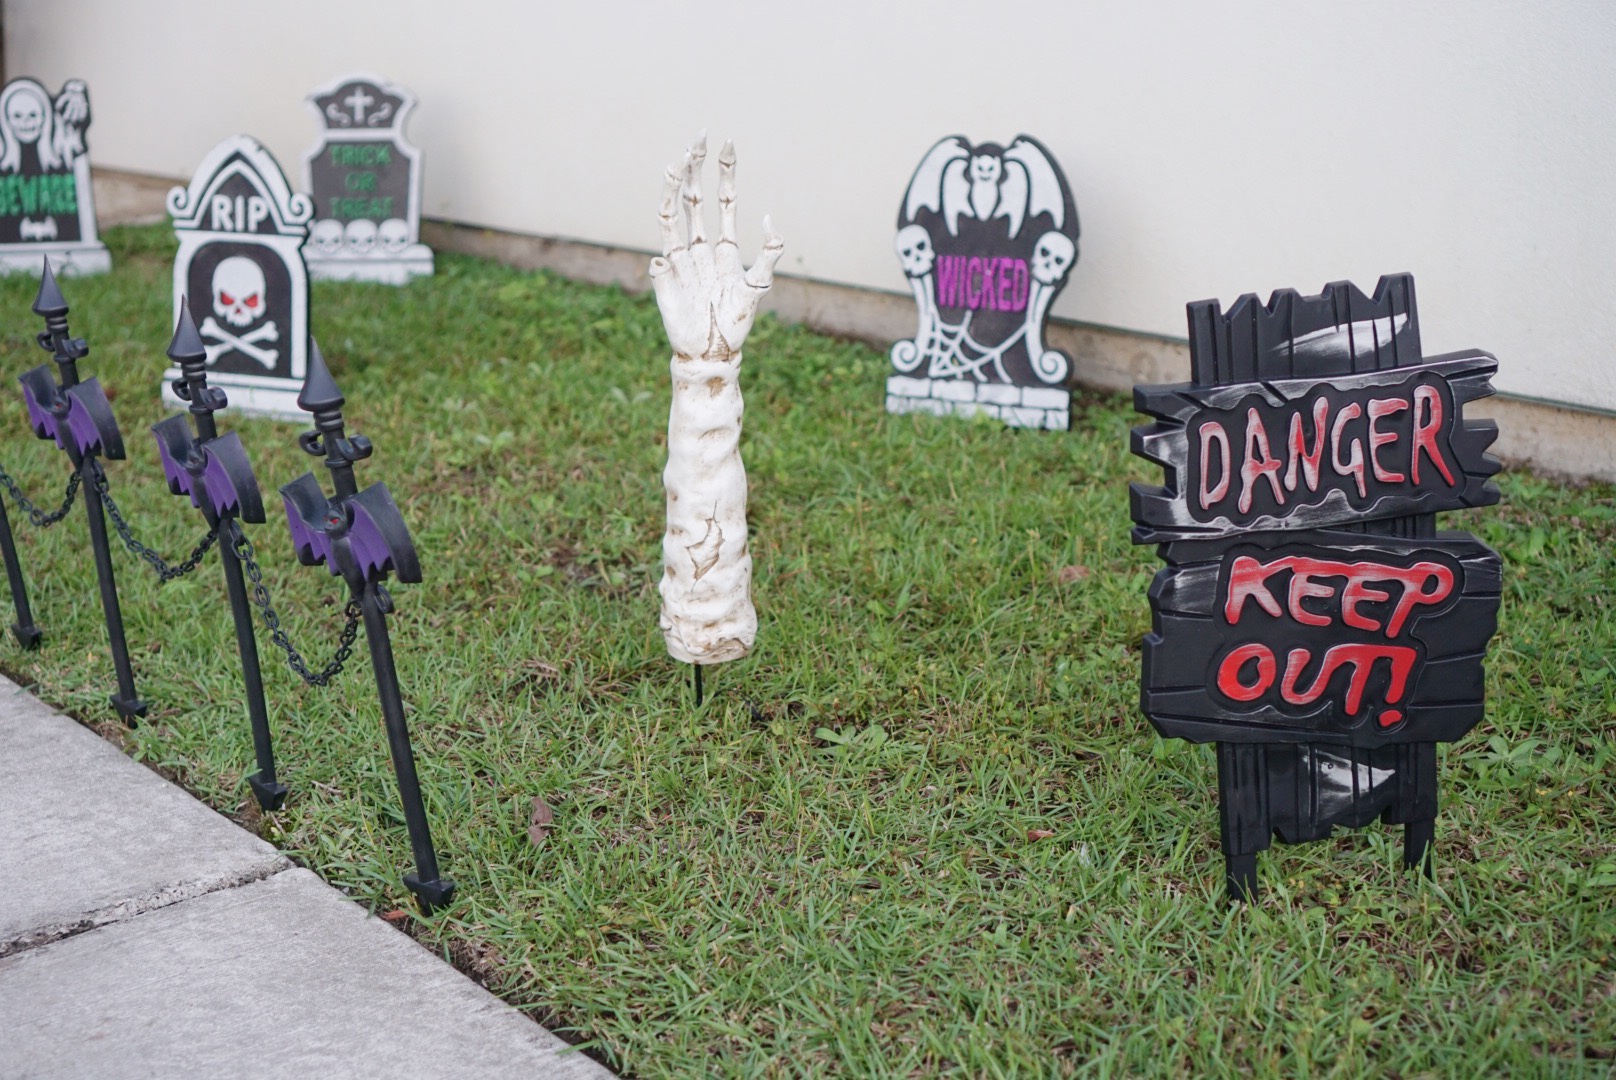
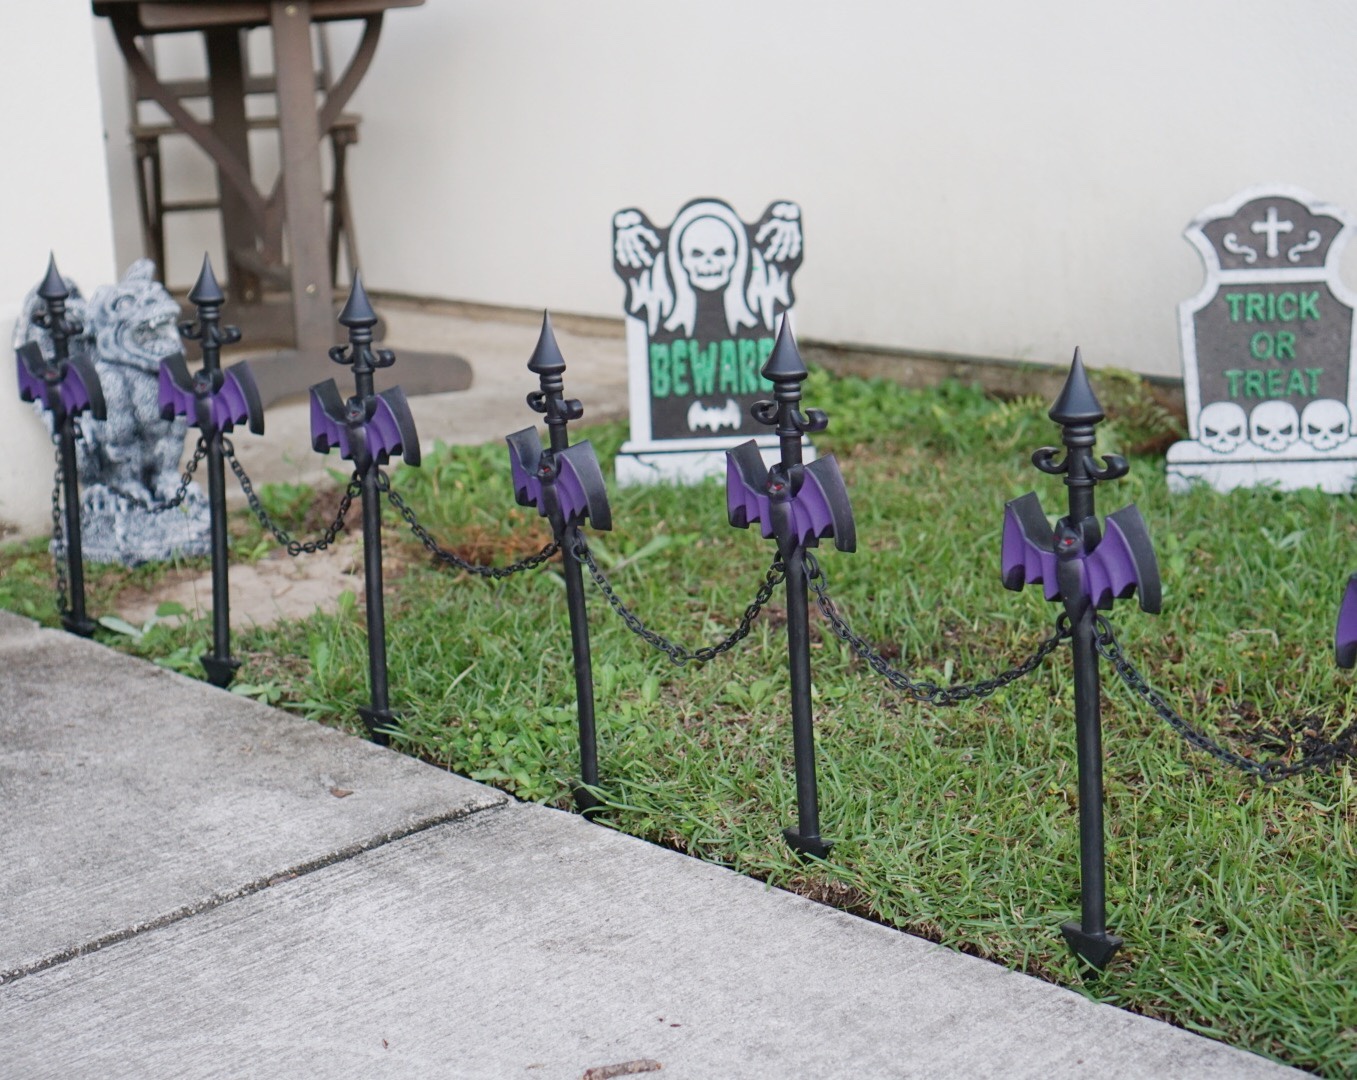
Hope this inspires you to get creative and try something new with your Halloween decorations for your front door this year.
