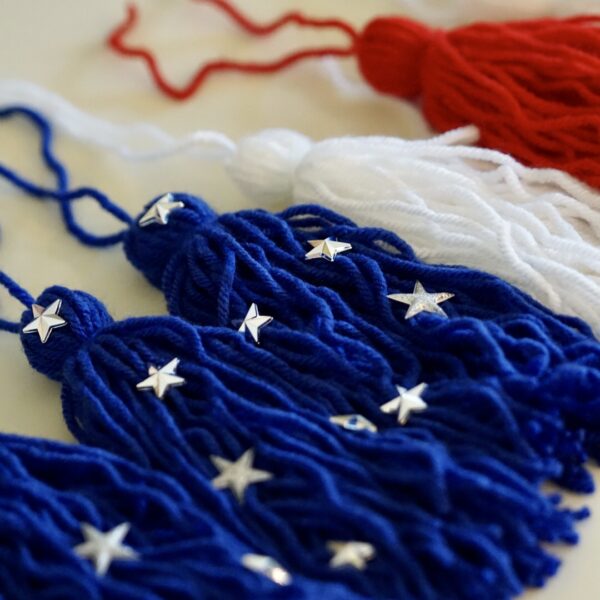
Have you ever wondered how to make a tassel garland? Tassel garlands have been popping up everywhere for seasonal and party decor and I want to let you in on a little secret; they are SO EASY to make yourself.
These are fantastic additions to your kid’s bedrooms, your seasonal mantle, or as simple decorations for parties. Tassel garlands can be made from yarn, embroidery thread, tissue paper, or even plastic table cloths! They are super easy to customize by simply changing the color, adding wooden beads, or seasonal embellishments, such as eyeballs to make ghosts.
Today, I will share the quick and easy steps you can use to make a red, white, and blue tassel garland from yarn for your fourth of July decorations. Keep reading if you would like to learn how to make a tassel garland.
Let’s get started!
Making the tassels:
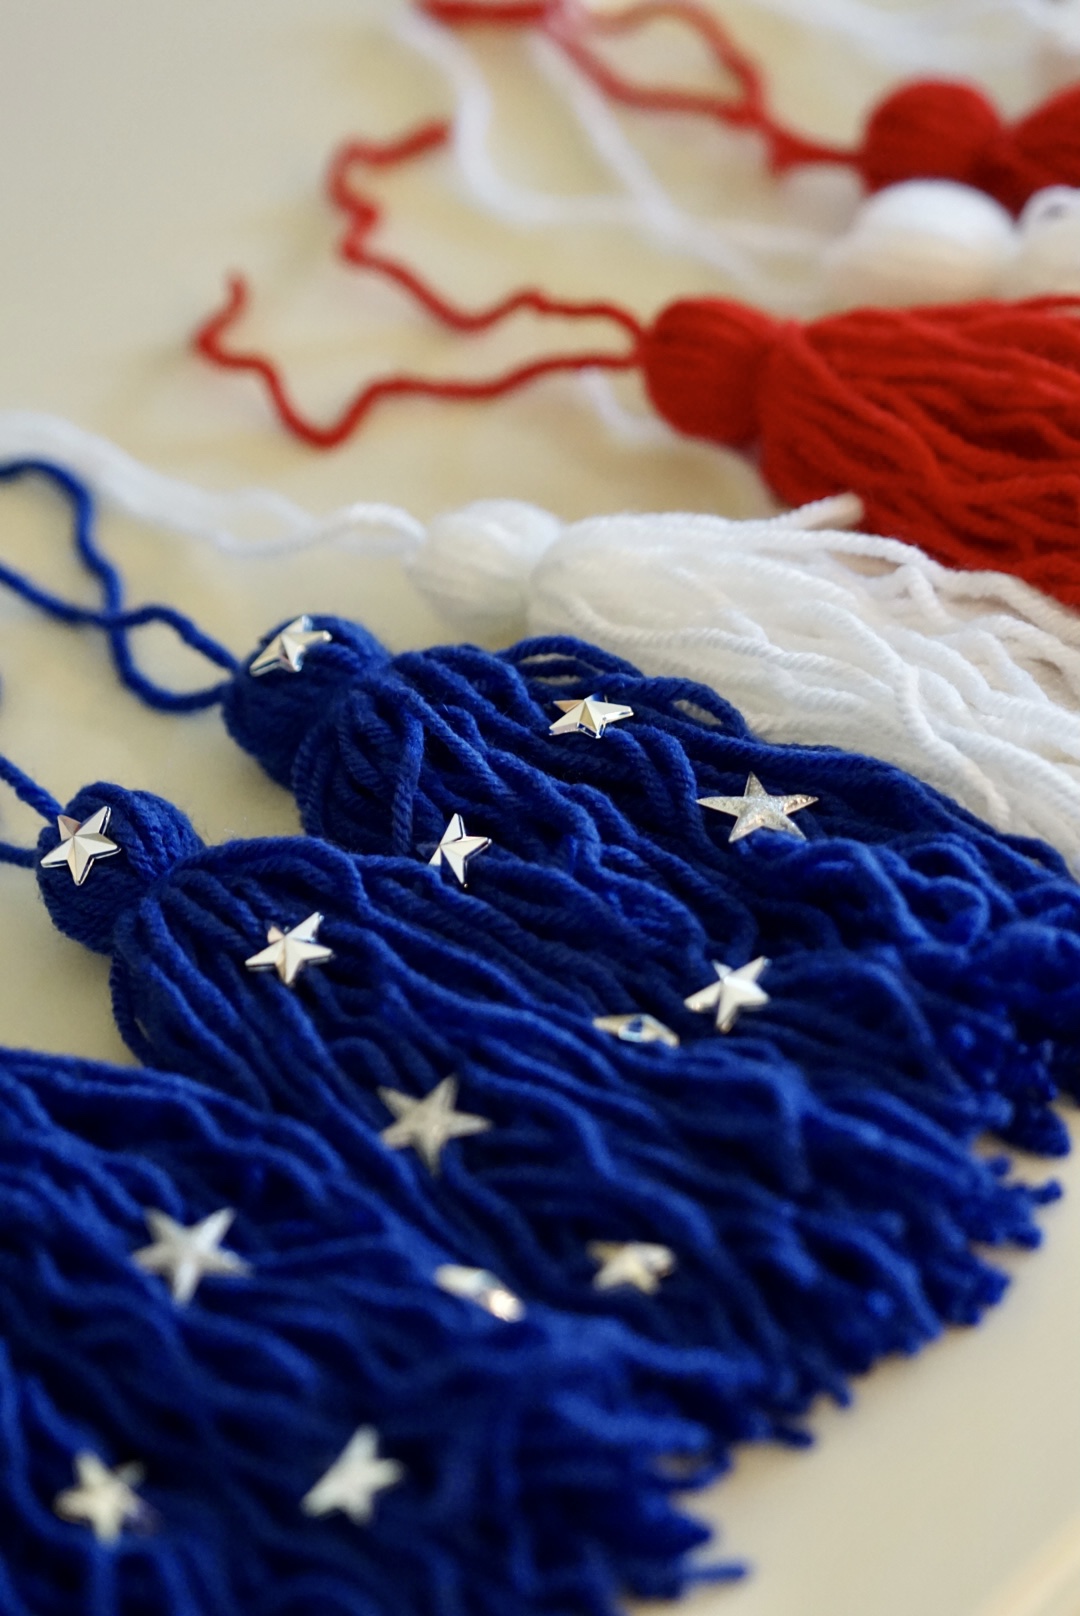
Before learning how to make a tassel garland, you will need to make your tassels. Check out my post, How to Make a Tassel, for my detailed instructions on how to make your tassels first.
For my red, white, and blue American flag-inspired tassel garland, I made 5 white tassels, 4 red tassels, and 4 blue tassels.
After you make your tassels, come back to this post to see how to put them all together using a crochet hook or needle and some more yarn.
Materials Needed
- yarn
- crochet hook or needle
- star stickers or confetti (anything really works here)
- hot glue gun and sticks
Tucking the tops of the tassels:
If you haven’t already tucked the top strands into the neck of your tassel as described in the How to Make a Tassel post, go ahead and do that now. You can do this before or after stringing your garland together. I find that doing it before gives me fewer dangling strings to worry about and makes the process a little easier.
Making the garland:

Now it’s time to string all your tassels onto your garland. Arrange your tassels in the order you would like them to appear in your garland.
You may want to consider the size of the space you will be hanging the garland to ensure that you have made enough tassels to cover the space. If you haven’t done that already, you could pause and do that now, or simply measure after you have hung your tassels on the strand of yarn to get a better visual idea of whether or not you need more.
Next, grab the material you would like to hang your garland from and your crochet hook. I am simply using a piece of the white yarn that I used to make my tassels.
Using a crochet hook or needle makes stringing the garland together a little easier, but it isn’t completely necessary.
Grab your first tassel and work the crochet hook underneath the knot that we formed at the top of the tassel with the 2 strings hanging from it.
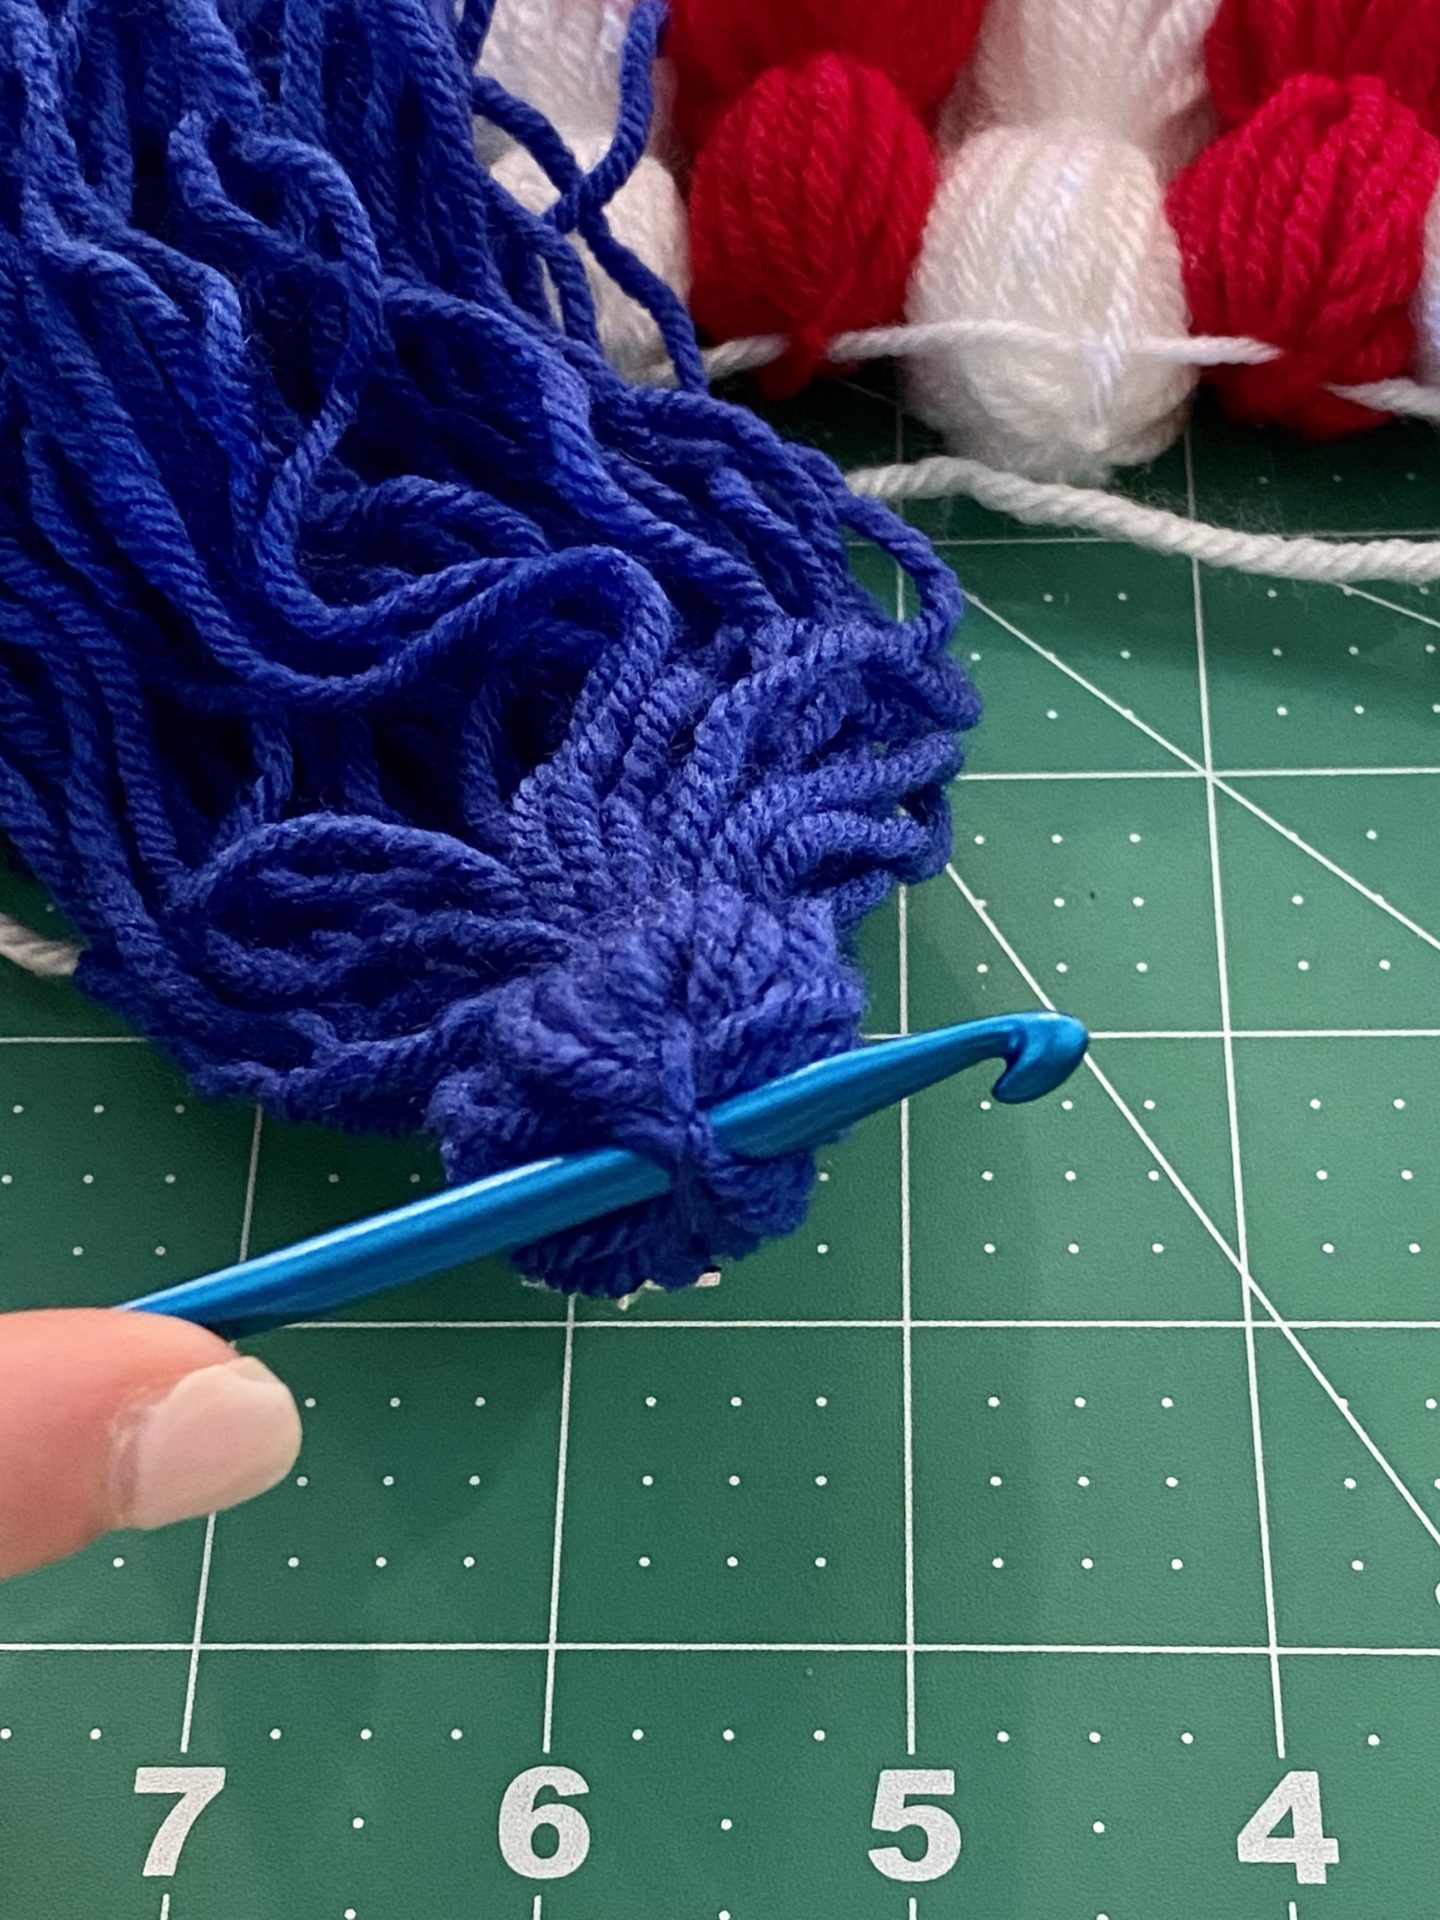
Now use your hook to grab the thread that you will be hanging your tassels from.
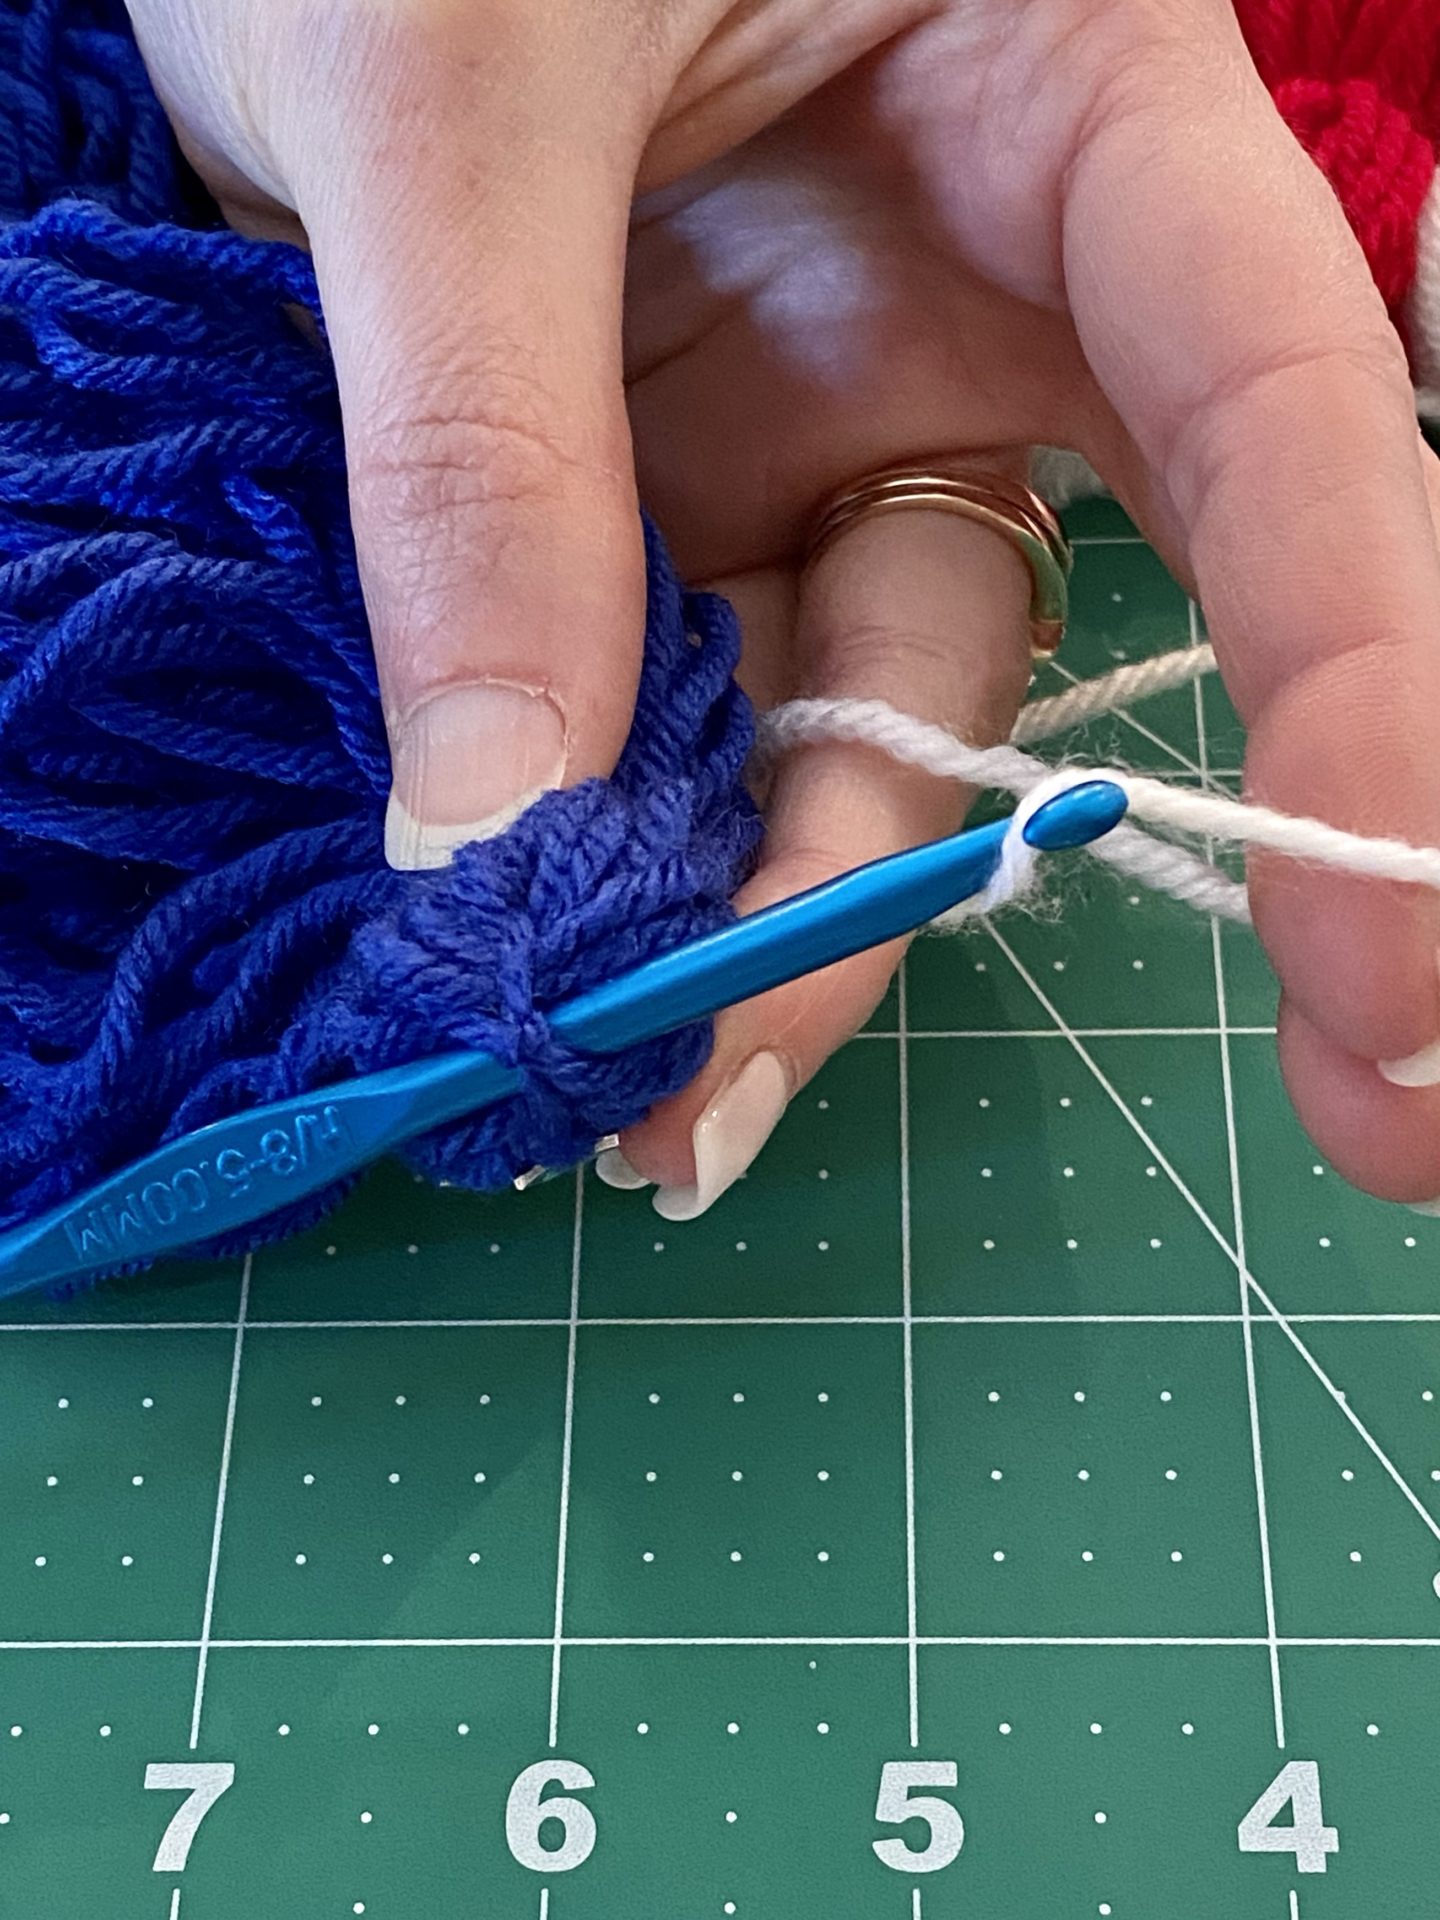
Pull the strand back underneath the knot with the crochet hook.
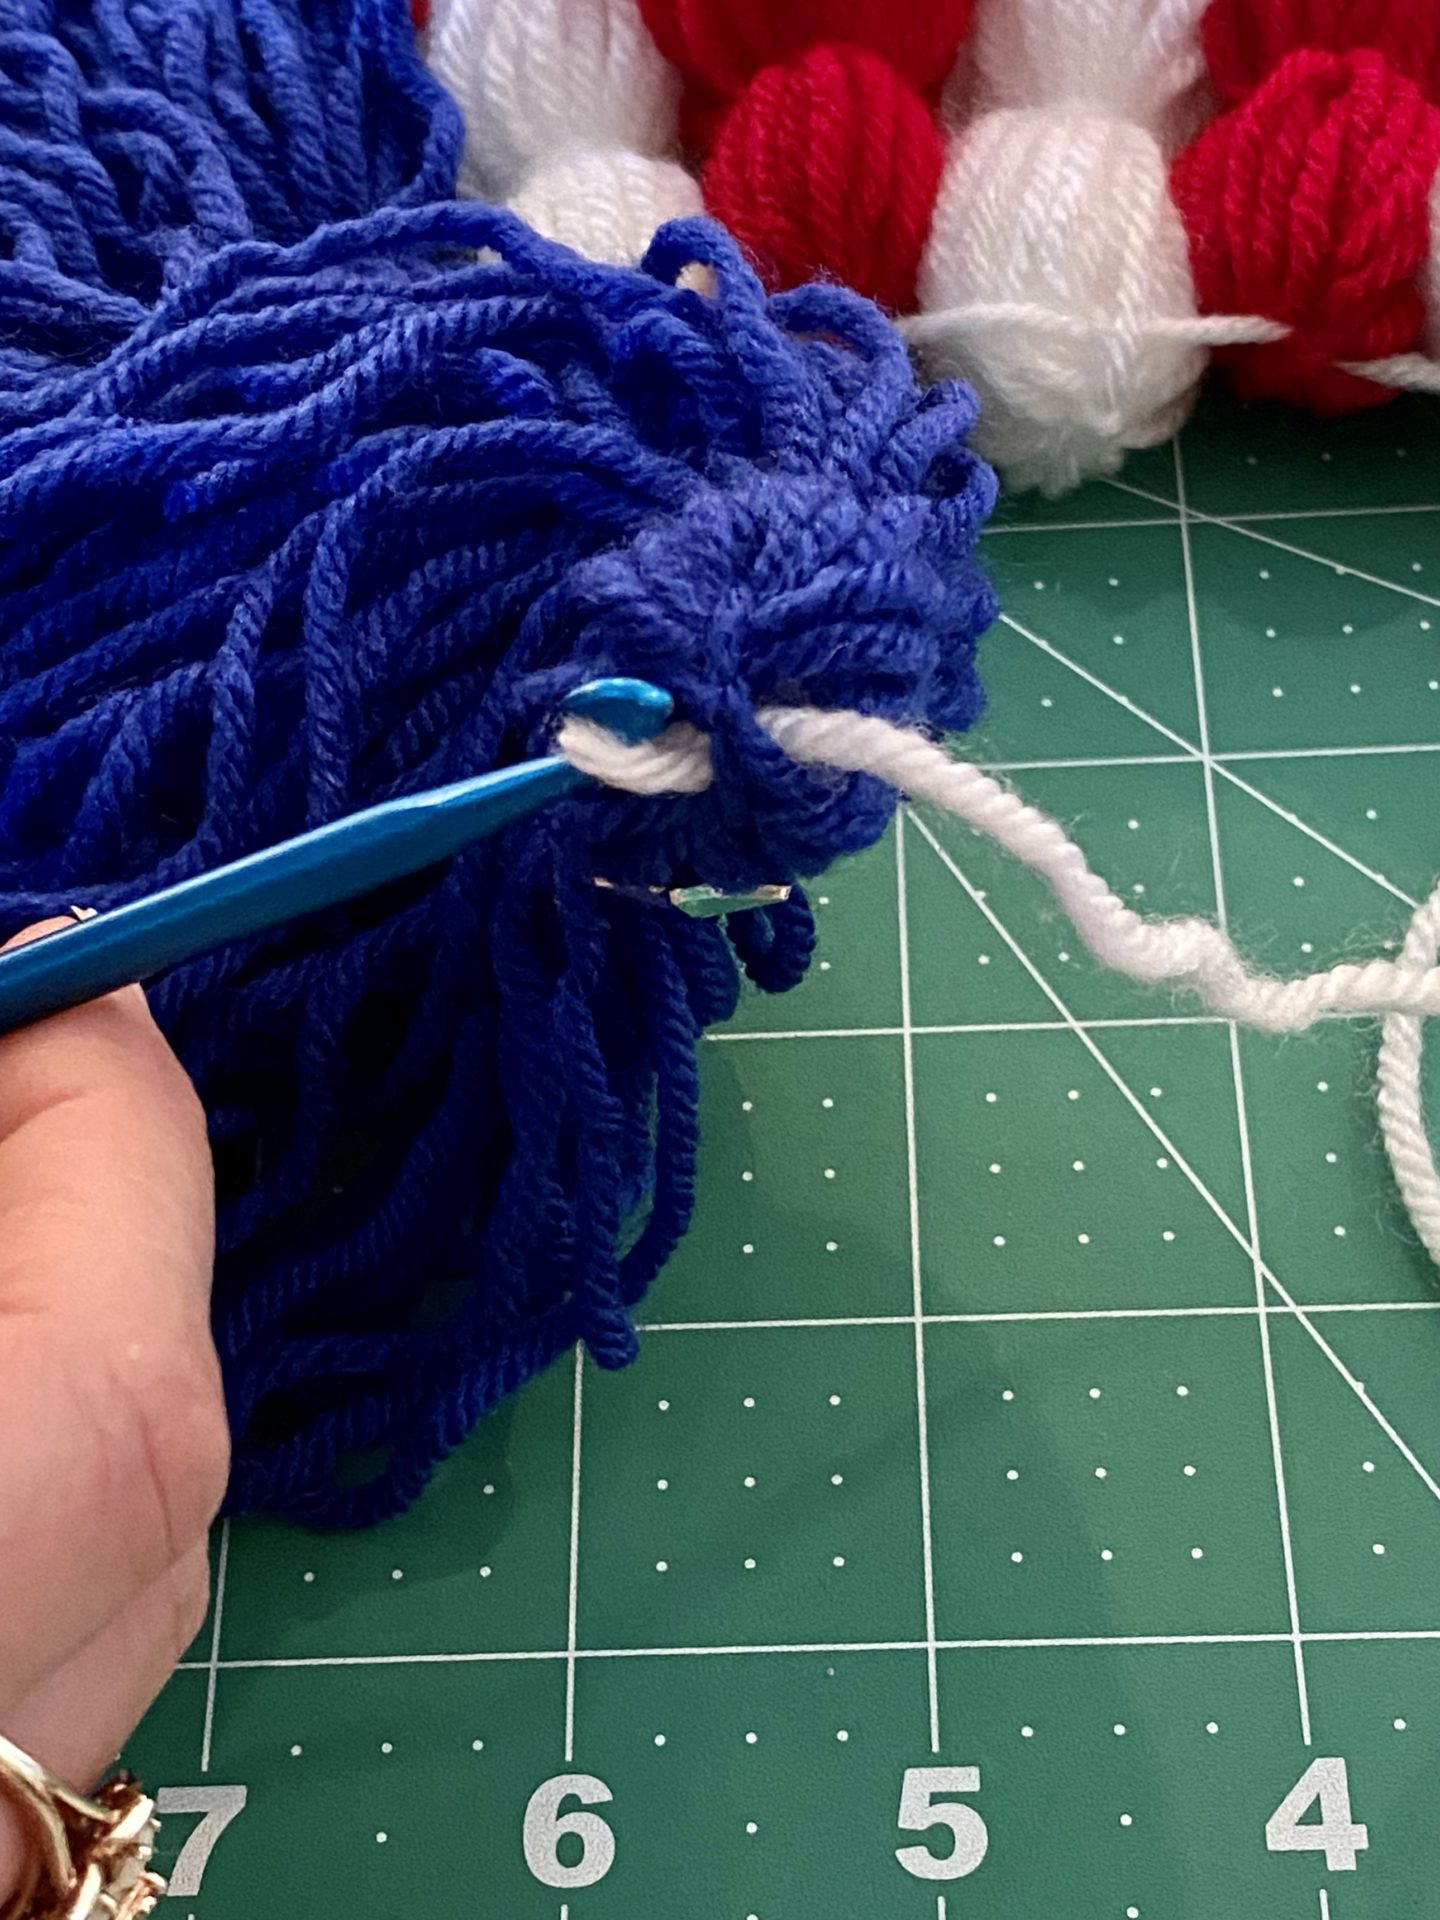
Pull the loose end of the thread all the way through the loop. Now, your first tassel is connected to your garland!
Repeat these steps with the rest of the tassels in the order you want them to appear on your garland.
Add your embellishments:
Once you have added all your tassels to your garland, it’s time to add your embellishments. I am adding silver stars to the blue tassels to complete my American Flag inspired red, white, and blue tassel garland.
The star stickers that I am using would probably stick on their own, however, I am using a little hot glue to ensure they stay in place.
I added my stars before putting them on the garland, but I recommend waiting and doing it afterward. I had to be a little more careful about placement and stringing them together since I only placed stars on one side of the tassels.

That’s it!
How easy was that?
I hope you enjoyed this tutorial on how to make a tassel garland. It is such an easy, inexpensive way to add to your decorations each season.

