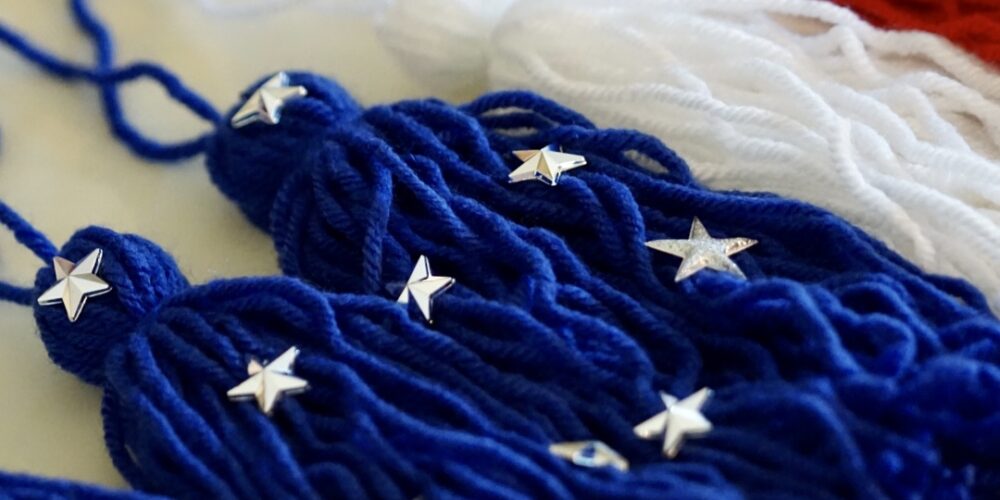
This super easy tutorial will teach you how to make a tassel with materials you likely already have at home. Making tassels is quick and can be a super fun way to add a special touch to bags, keychains, jewelry, parties, or home decor.
Today, I will be making tassels to use in a tassel garland. These steps can be followed to make tassels for any purpose by simply altering the size or even the type of material used. If you would like to see how I turn my tassels into a tassel garland to decorate for the Fourth of July, you can check out my post here.
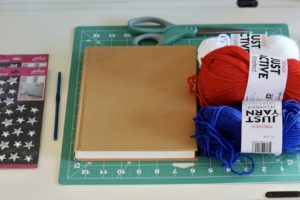
Materials Needed:
- yarn (mine came from the Dollar Tree)
- hardcover book or square object
- scissors
- ruler (link to my cutting board and trimmer kit here)
- crochet hook (optional)
- stars (or any embellishments you like)
- hot glue gun and glue
How to make a tassel
Prepare your materials
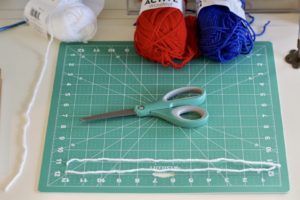
Gather your materials and begin by cutting 2 strips of yarn about twice the width of your book or square object. My book is about 6 inches wide, so I am cutting my strips about 12 inches long. Set these aside for later.
Wrap the book to create the tassel base
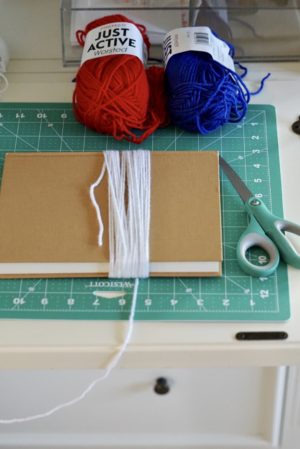
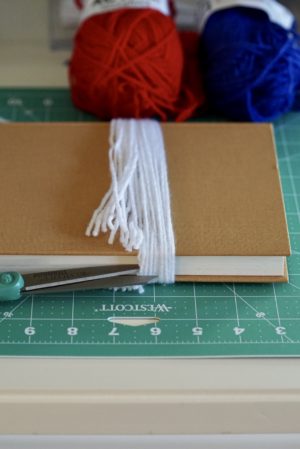
Now, you will form the base of your tassel. Grab your book and wrap your yarn around the book as shown below. You will want to begin and end wrapping your yarn at the same edge of your book. I have found it is easiest to use a hardcover book, as the cover creates a ledge that makes it easy to insert your scissors into and cut the yarn at the end of this step. I wrapped my book 30 times.
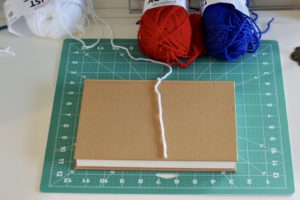
Note: The size of your object (book, cardboard, etc) will determine the length of your tassel. The number of times that you wrap around the book will determine the thickness of your tassel.
Tie a knot at the top
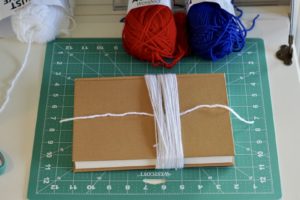
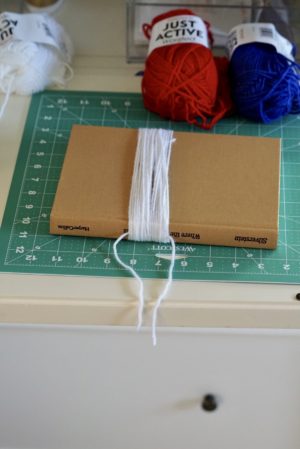
Insert one of the strips that you cut in step 1 underneath the wrapped yarn as shown below. Ease the yarn up to the spine of the book (or the opposite end you will cut) and tie it in a double knot. This knot will be used to hang your tassel later on.
Cut the tassel off the book
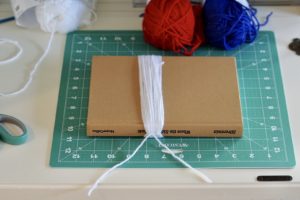
Now, grab your scissors and cut your tassels at the opening of the book as pictured below.
Form the top
Pick up your tassel and find the knot that we tied at the top of the book. This will be what you use to hang your tassel.
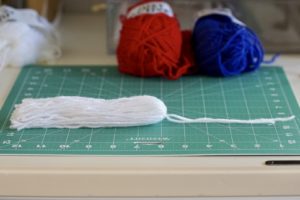
Grab the 2nd piece of yarn that we cut in Step 1 and lay it flat on your working surface.
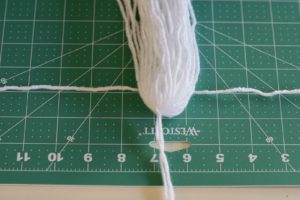
Place your tassel on top with about an inch of space between the knot and the string. Tie it in a double knot as shown. You can leave your tassel just like this or use the ends of that strand to wrap around the top section to make it more defined.
I am leaving mine like this and letting the extra ends just hang down with the rest of the tassel.
Trim the ends
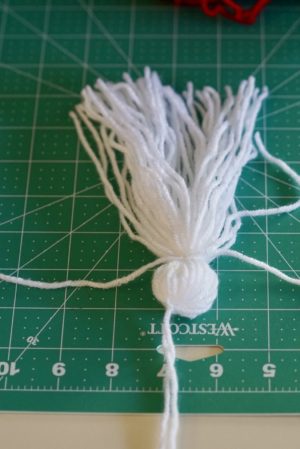
Now, trim your tassel ends to make them nice and even. If you are trimming multiple tassels for a project like a garland, make sure you are trimming them to approximately the same size.
Customize your tassels
Now you can add any embellishments you like. I am hot gluing stars on my blue tassels to use to make a tassel garland to decorate for the Fourth of July. If you would like to see how I put it all together in a tassel garland, check out this post next.
Note: If you are making a garland, I found that it is a little easier to add your embellishments after you have strung the garland together.

Finishing touches
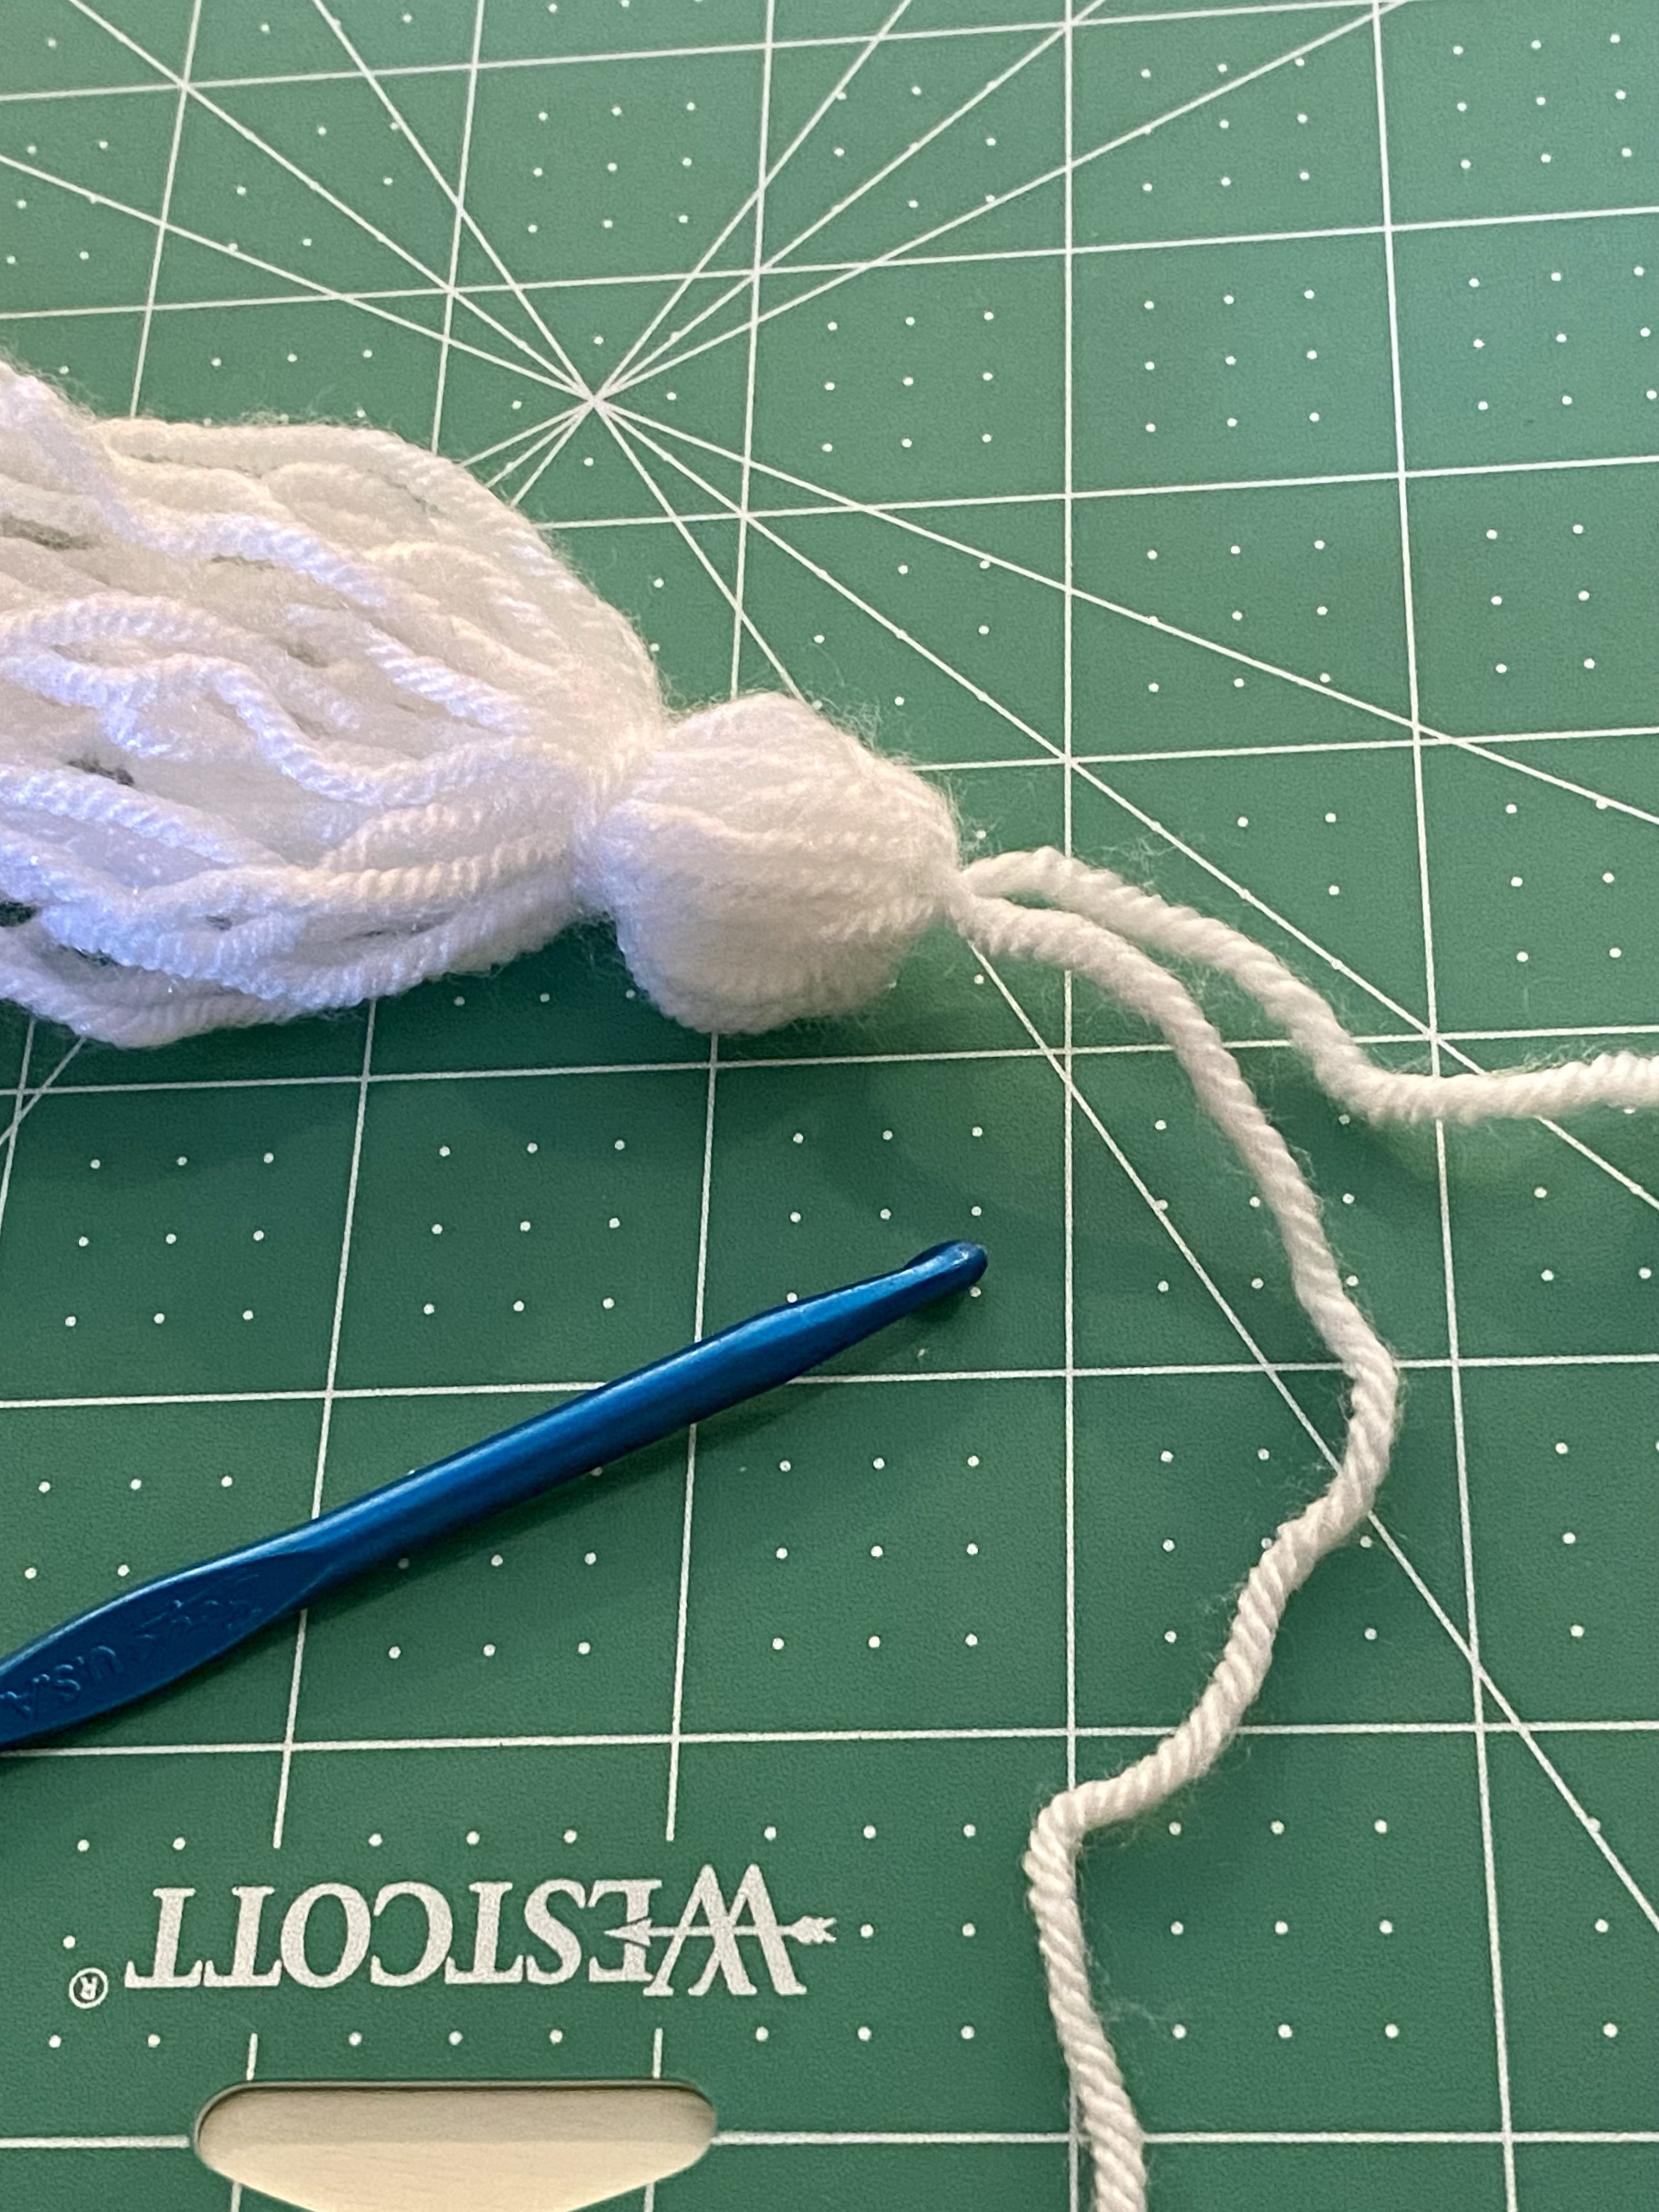
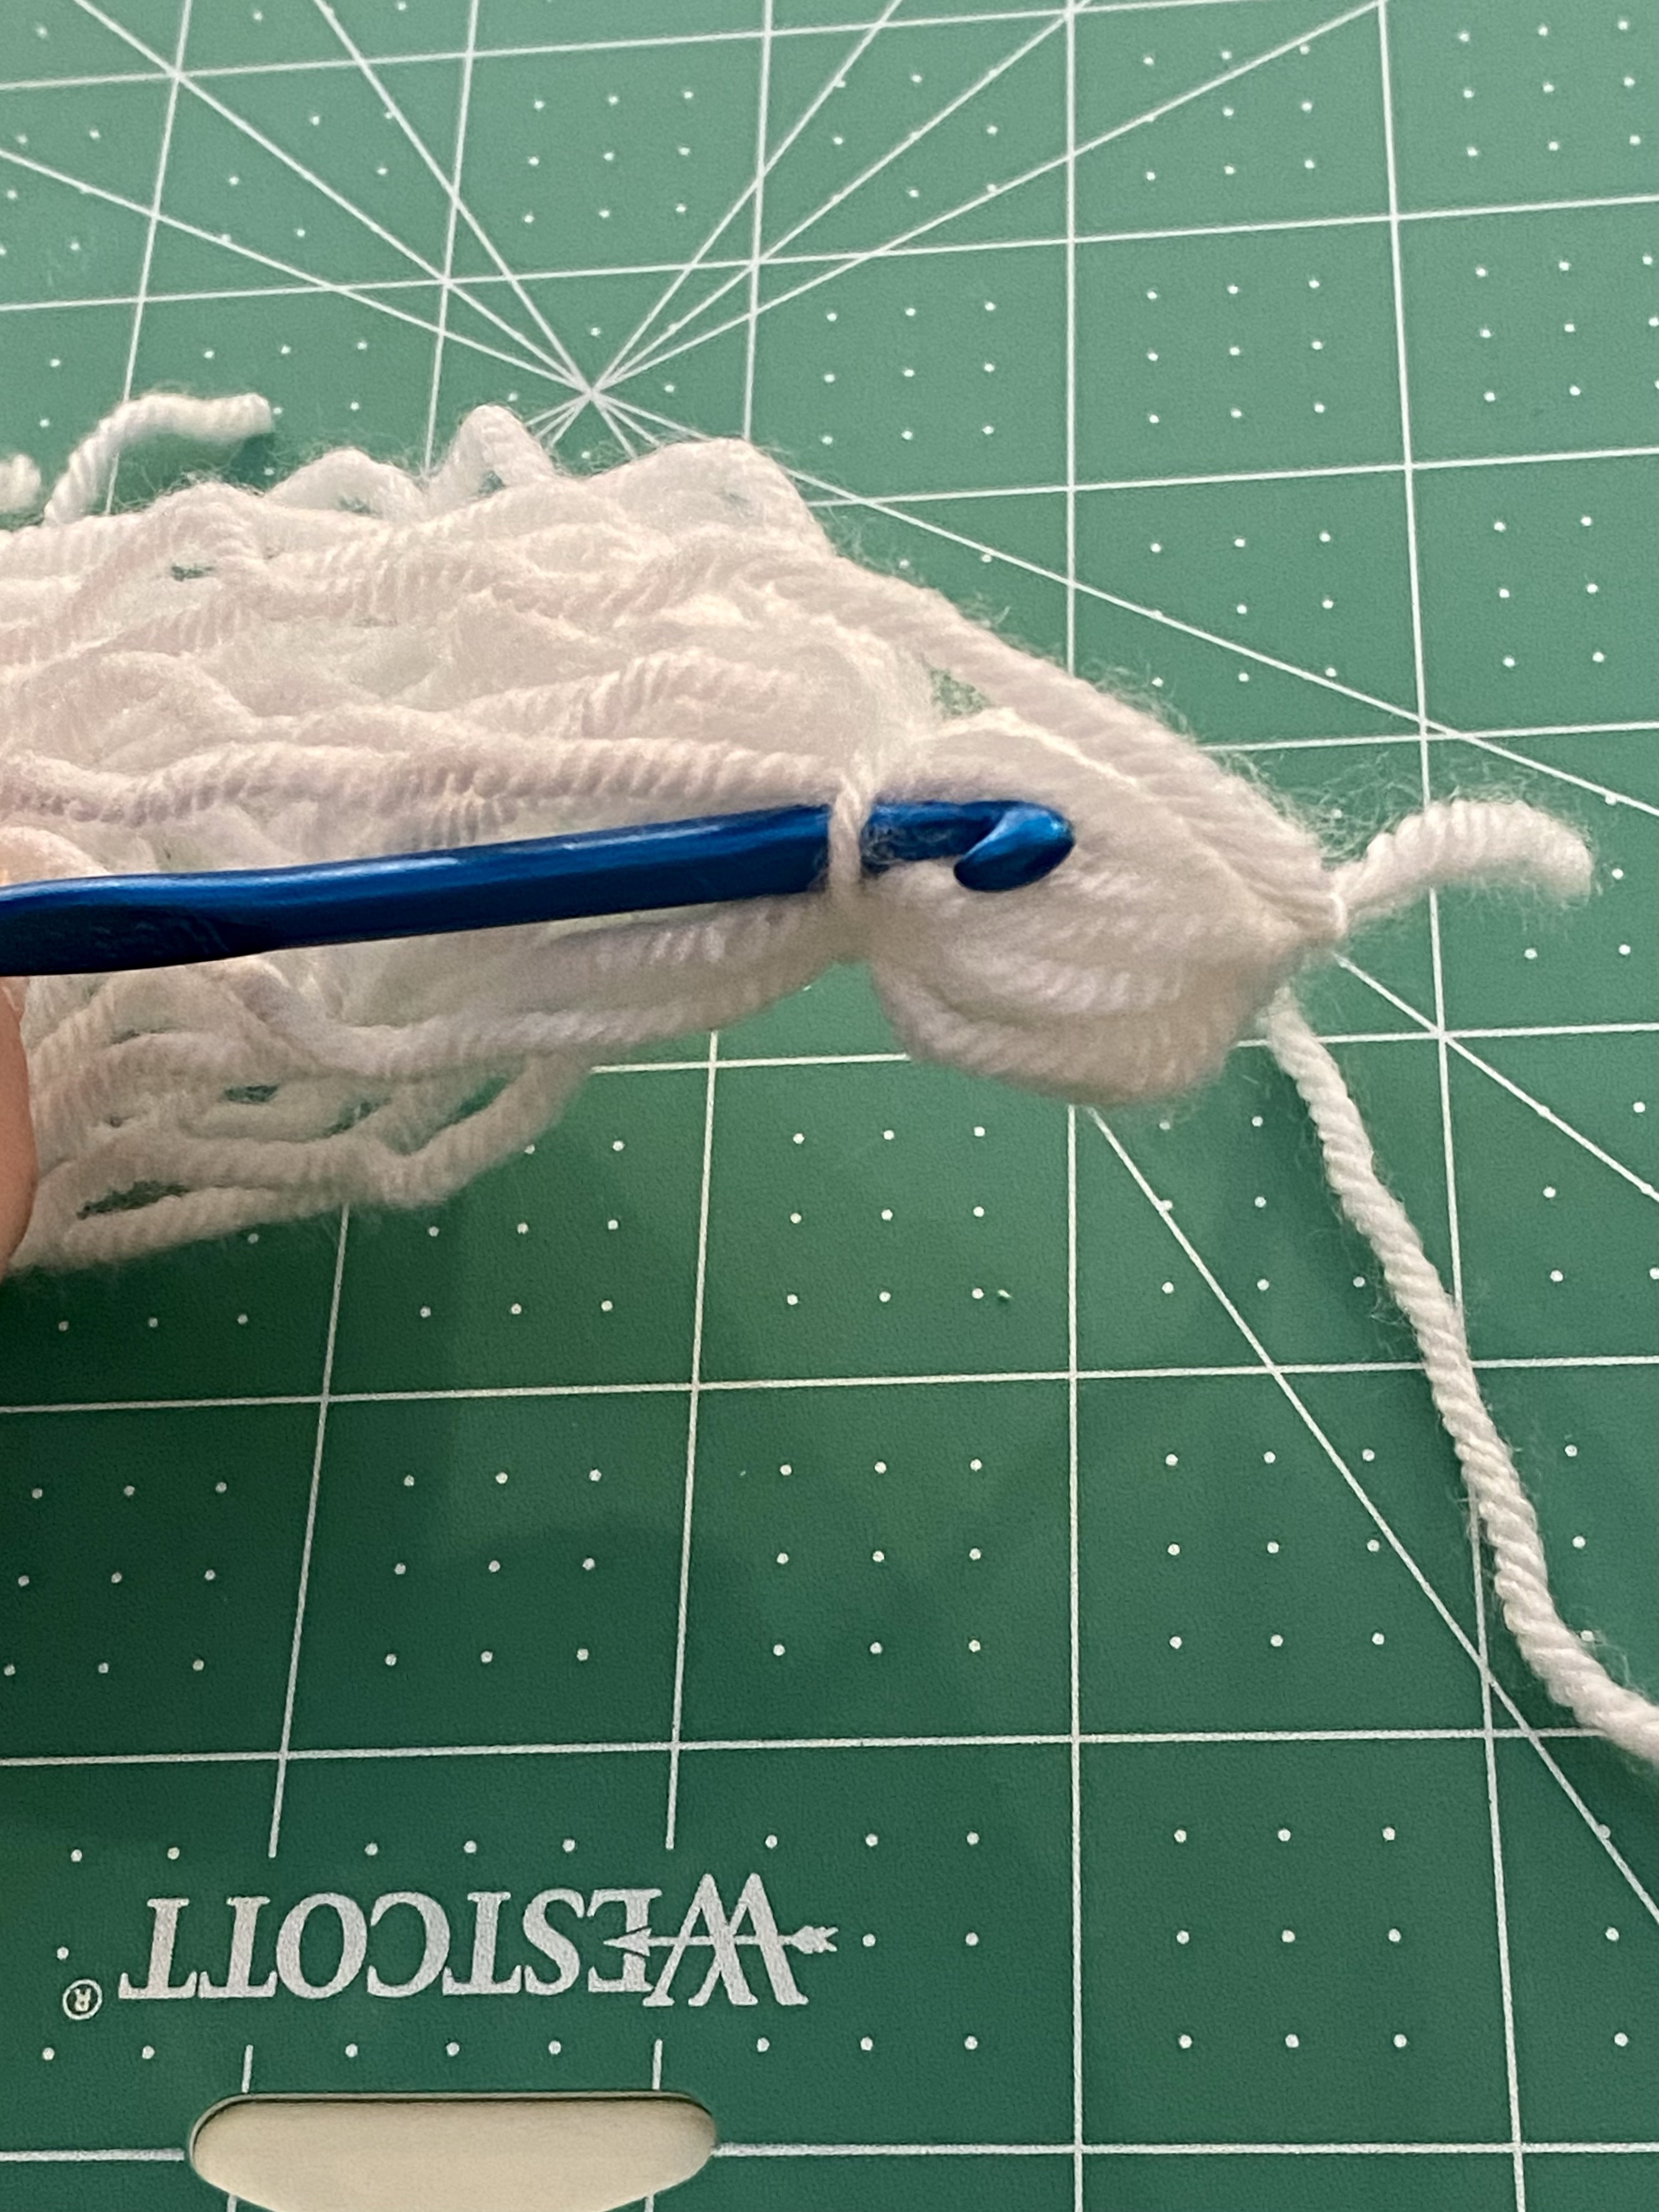
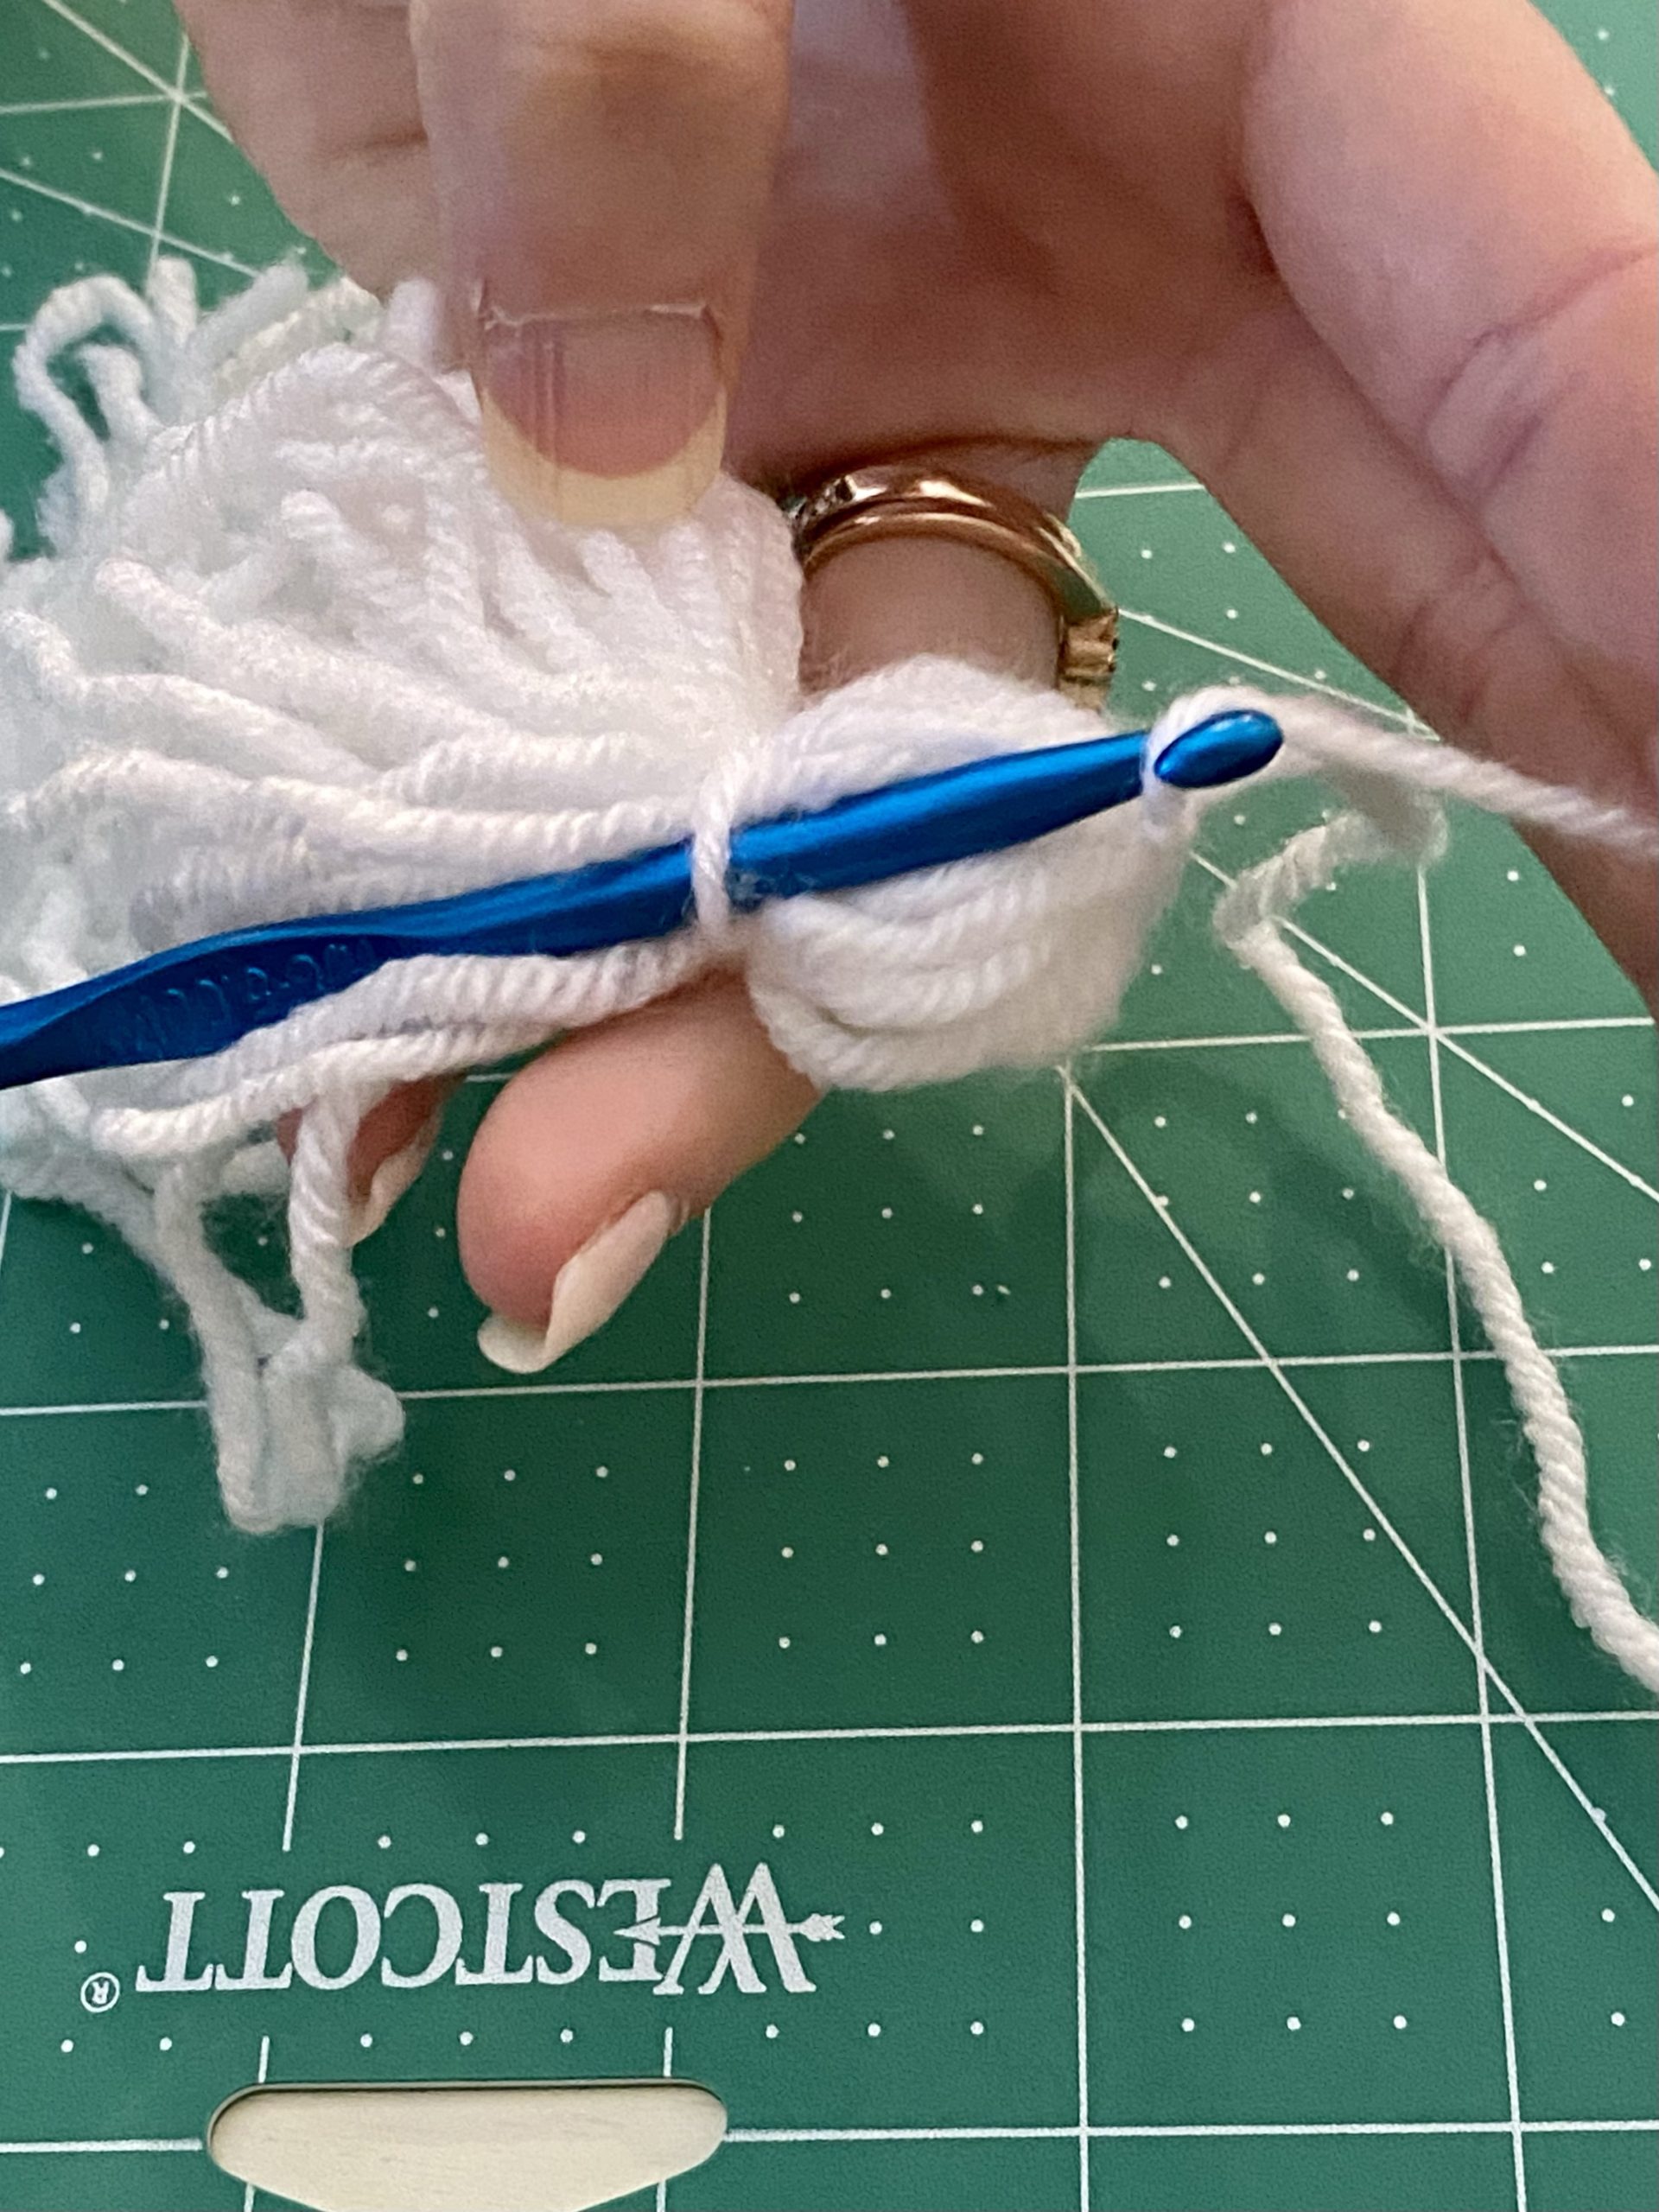
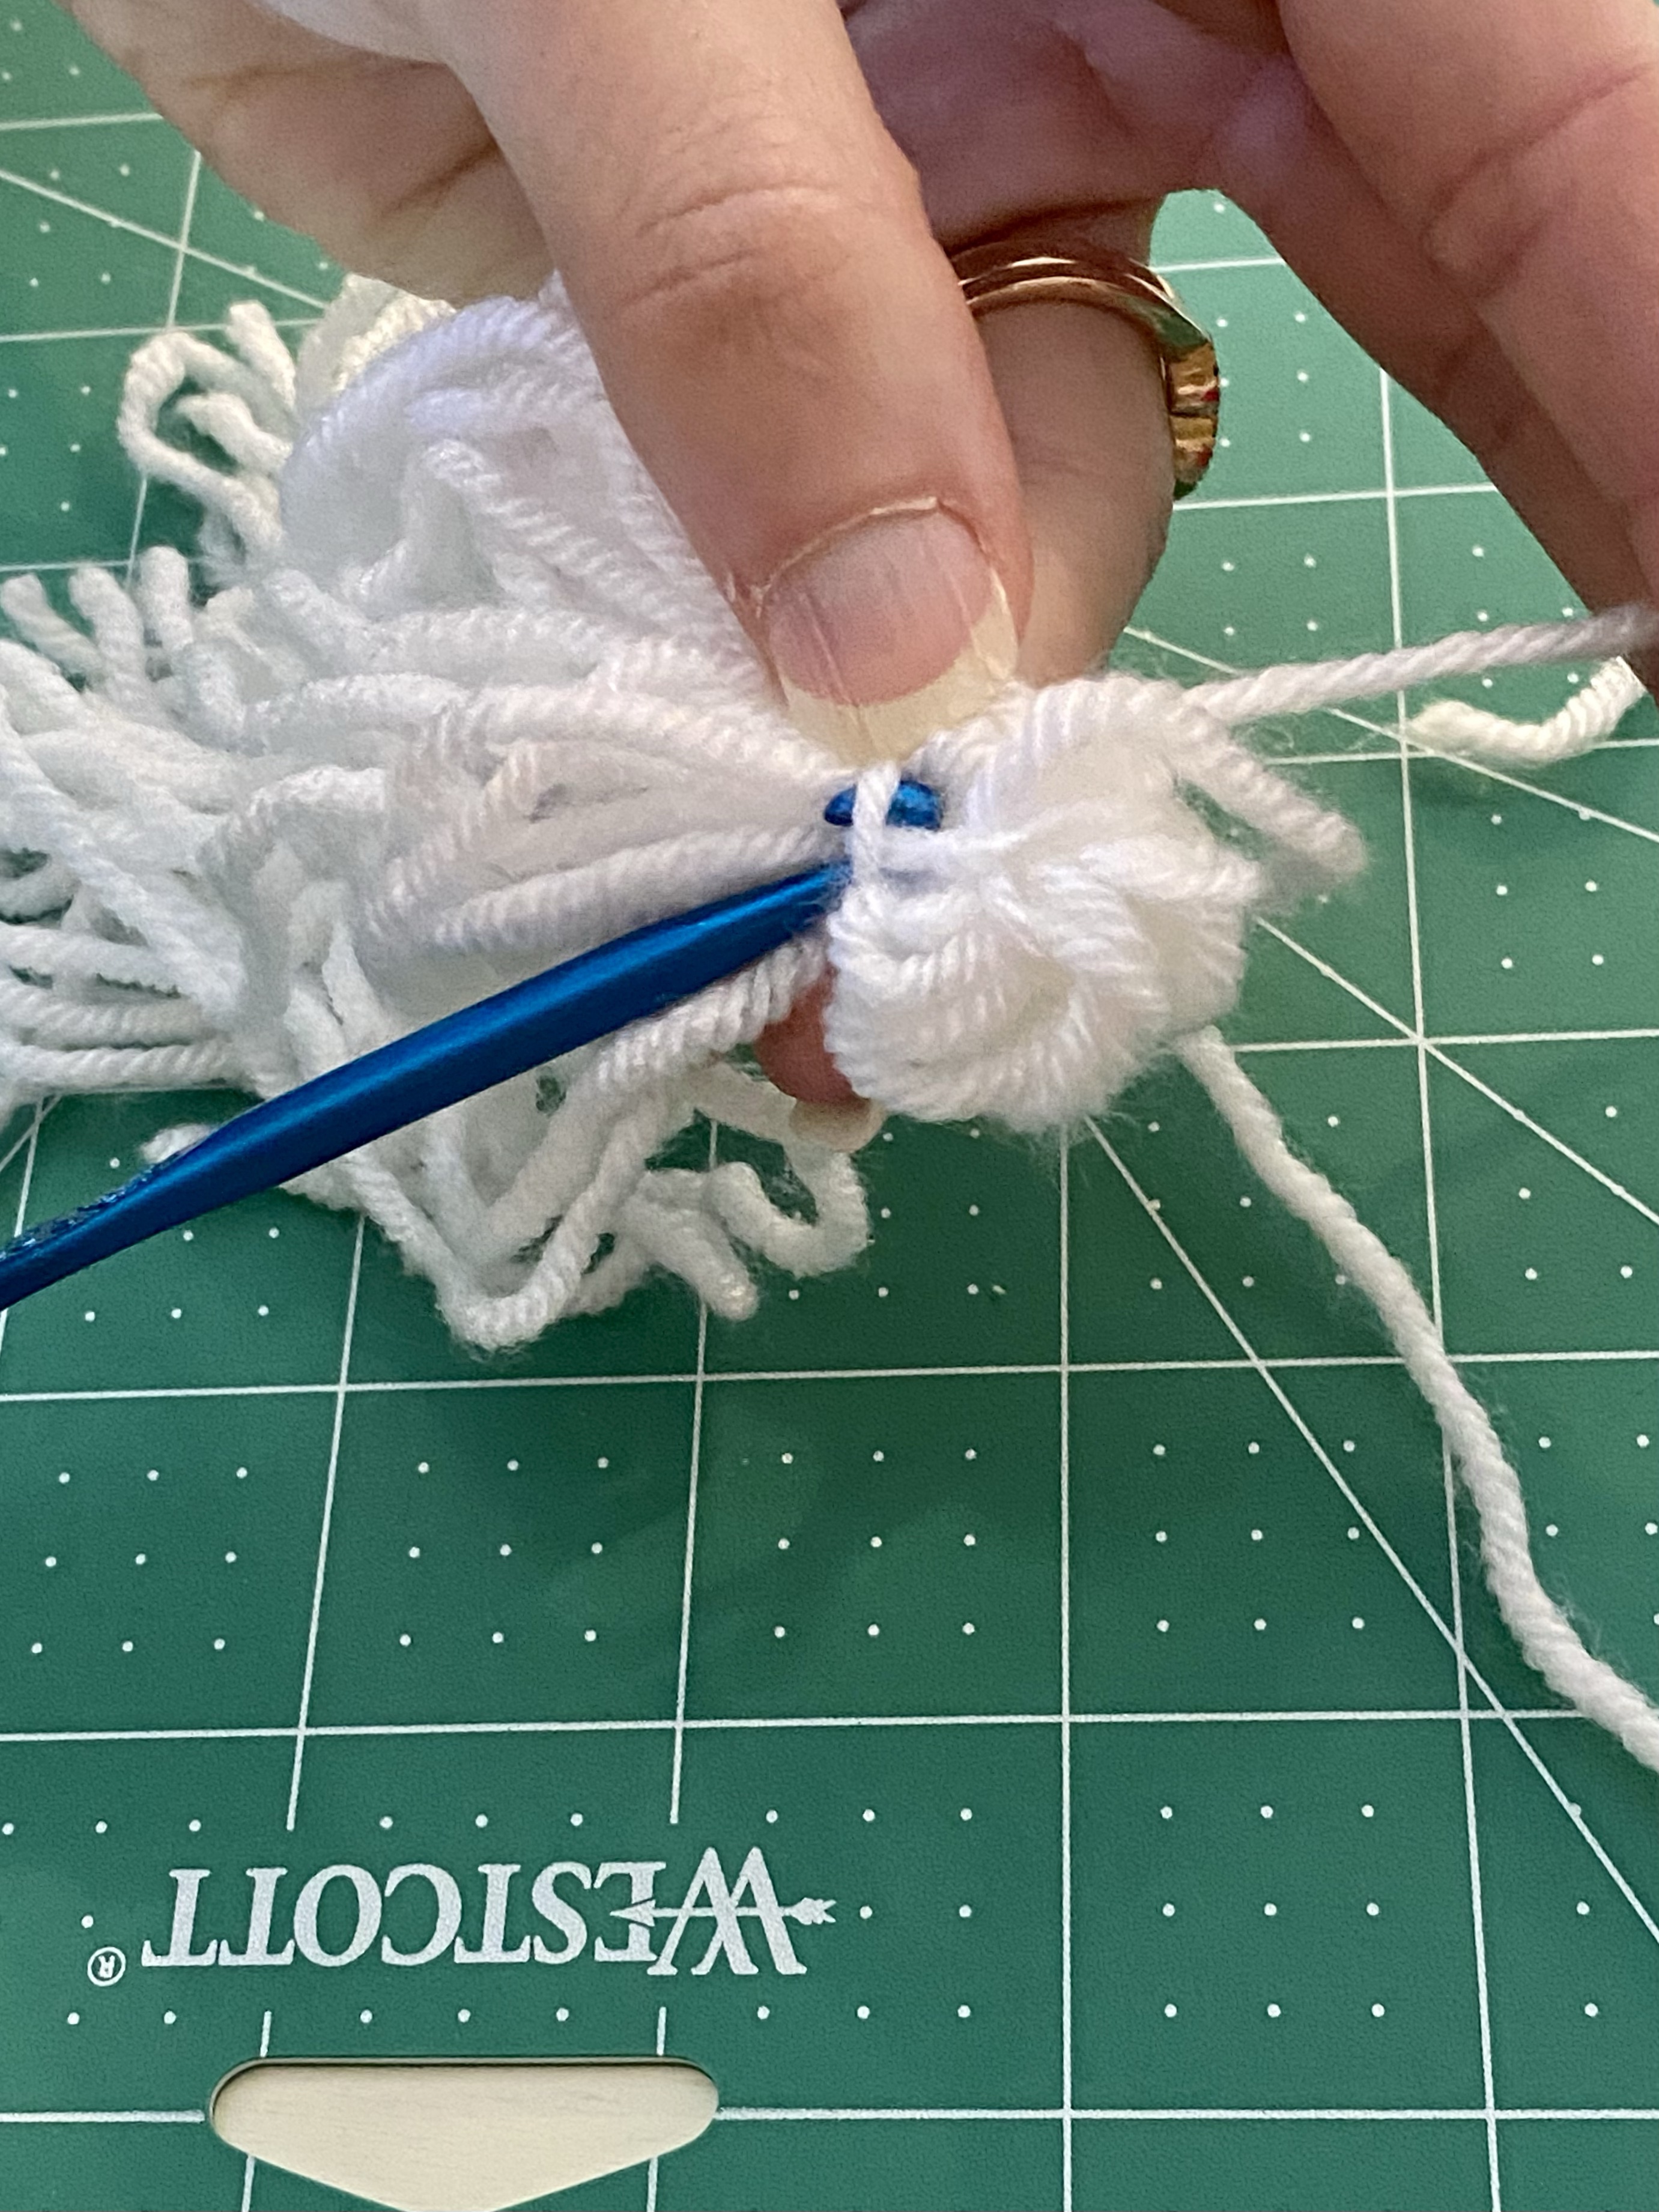
The last step in how to make a tassel is cleaning up the tops.
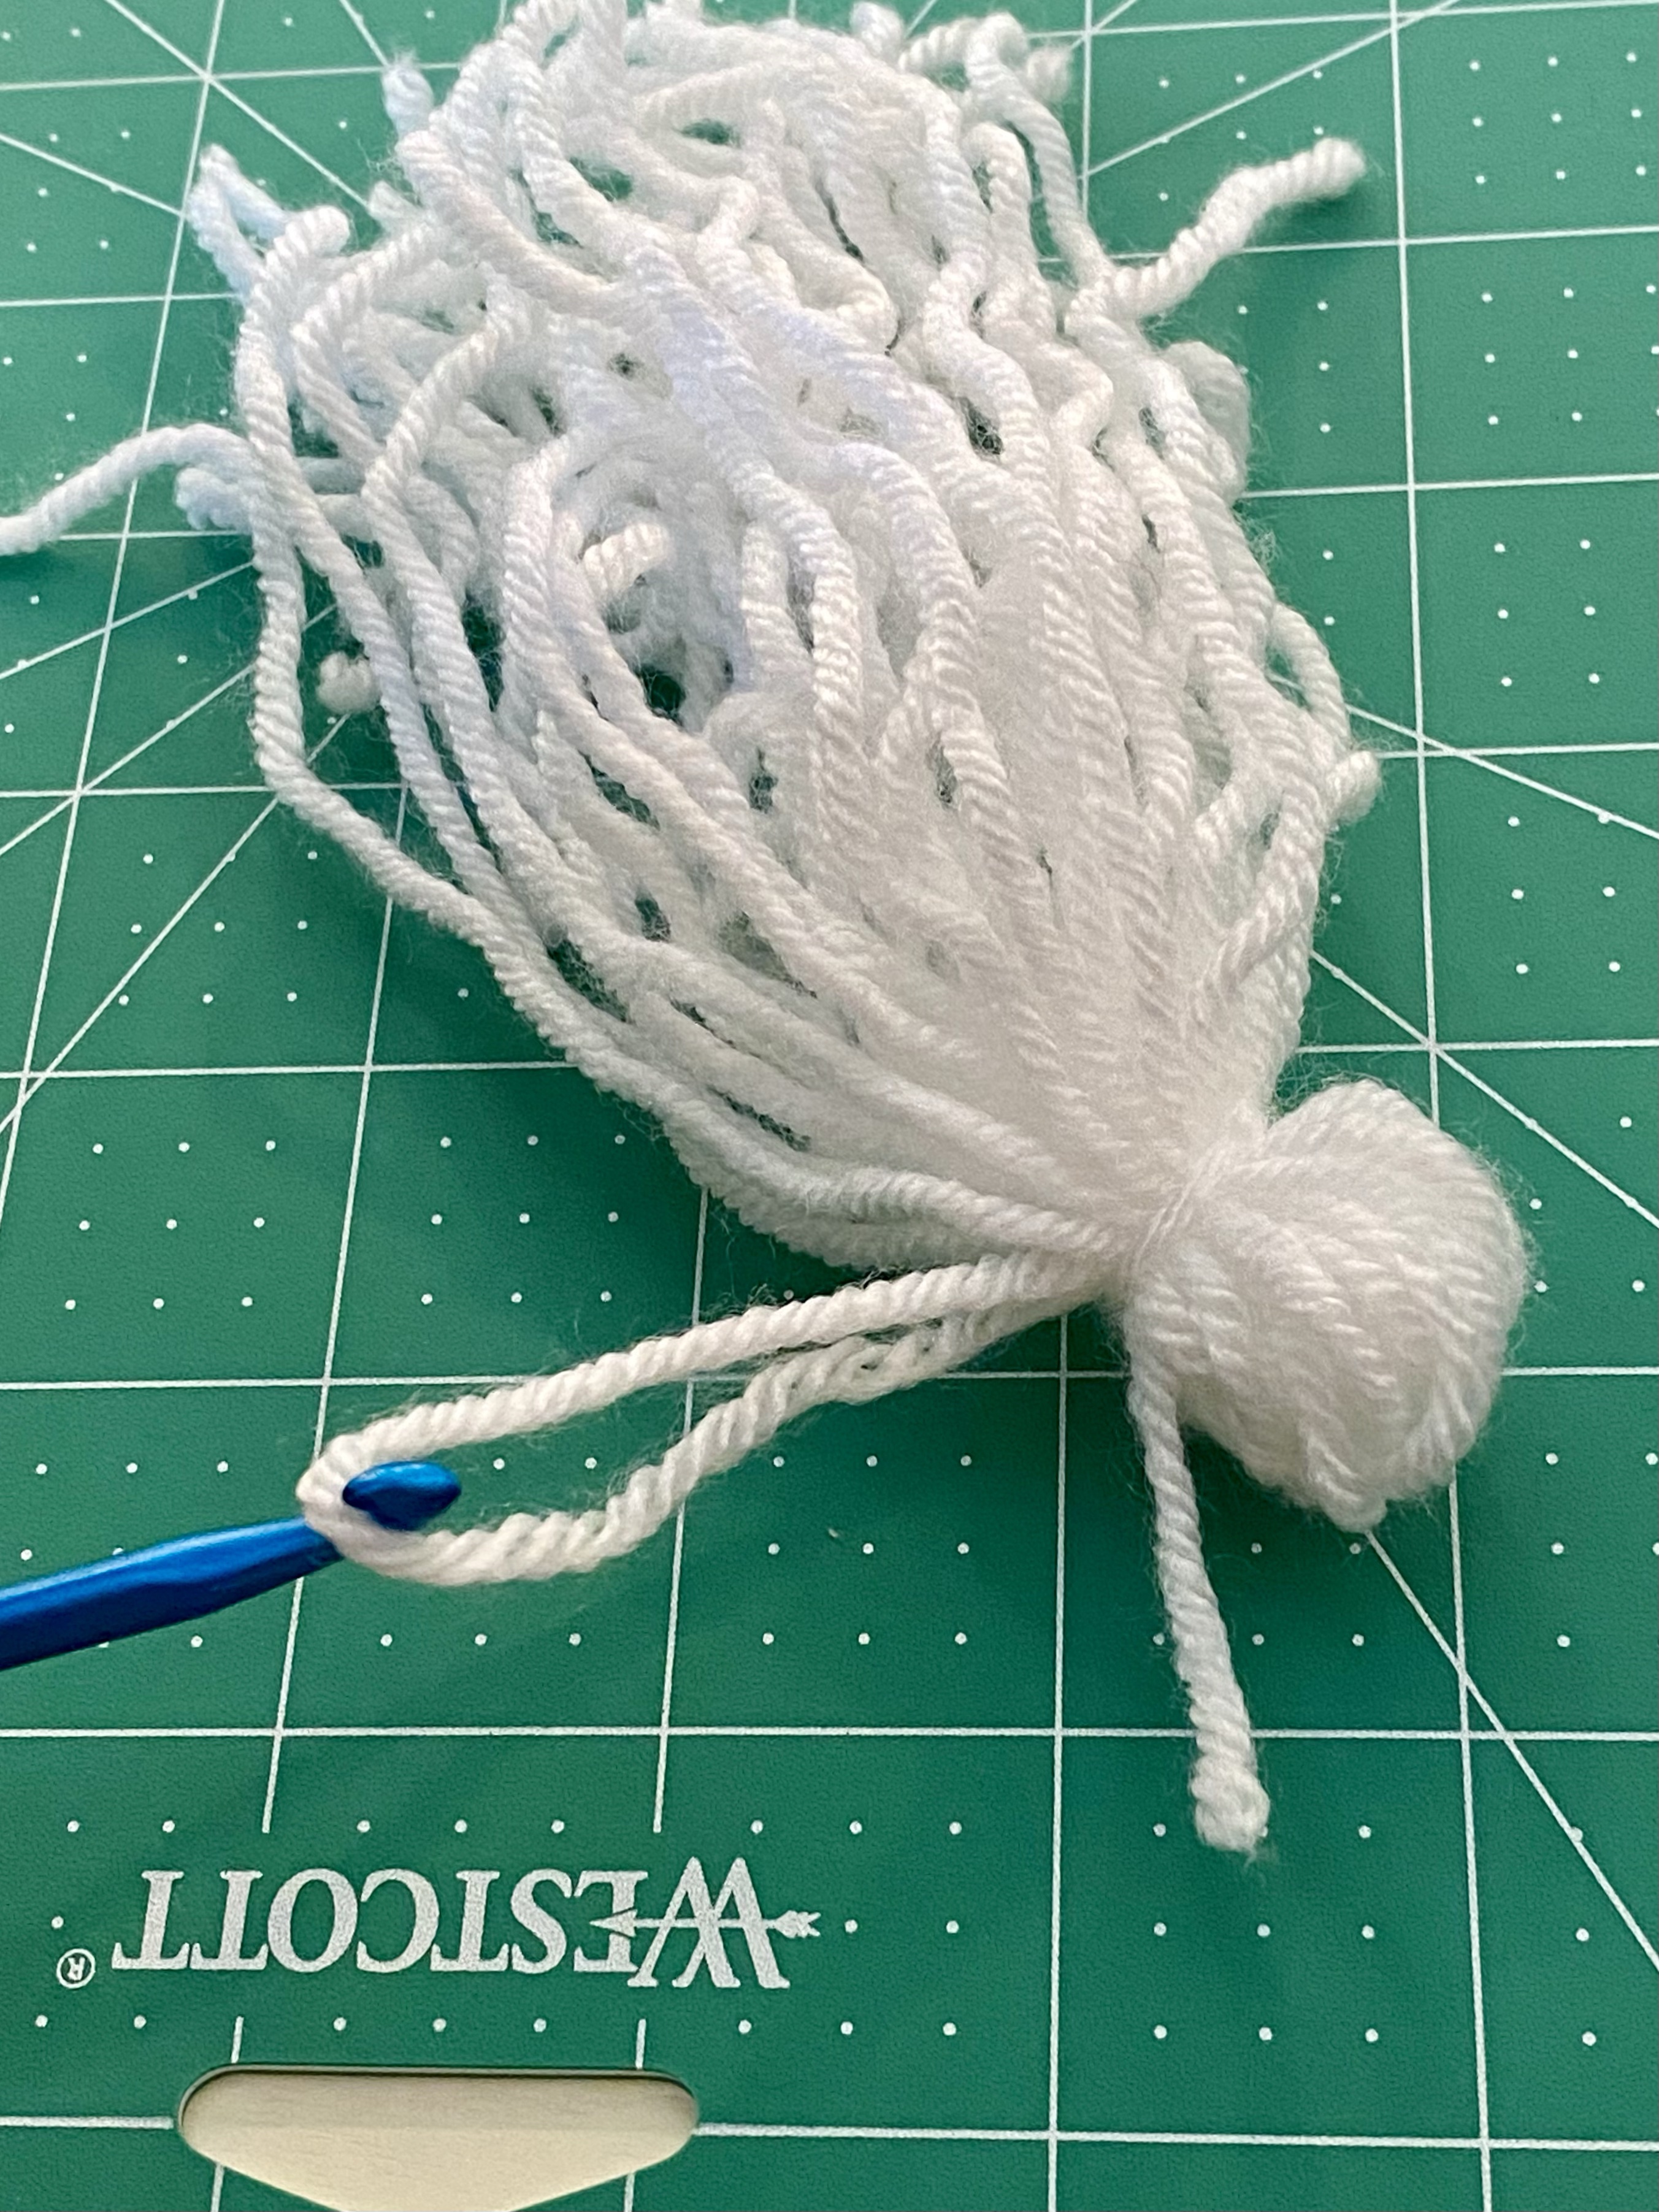
Once you have finished customizing your tassel and attached it to your desired object, you can tuck the top pieces away. I used a crochet hook to tuck the strands under the piece of thread that we tied around the neck of the tassel. After you tuck them under the thread, simply let them hang down with the rest of the tassel.
Voila! How simple was that?
I hope you found these steps on how to make a tassel as easy as I did. Tassels are such a fun, inexpensive way to elevate your seasonal or party decorations. I can’t wait to share more inexpensive decorating ideas with you soon!

I hope that I’ve inspired you today to create and decorate.

